
|
We're proud to announce that we've entered the 2018 edition of CSME's National Design Competition! Check out the video that we submitted below!
0 Comments
Thanks to all those who stopped by our table at the poster presentations! The poster presentations marked the end of the capstone course for us. Rest assured, the Automated Electric Foundry project won't stop here! As soon as the final exams are over, the team will be back at work trying to bring this project to its full potential. Stay tuned! 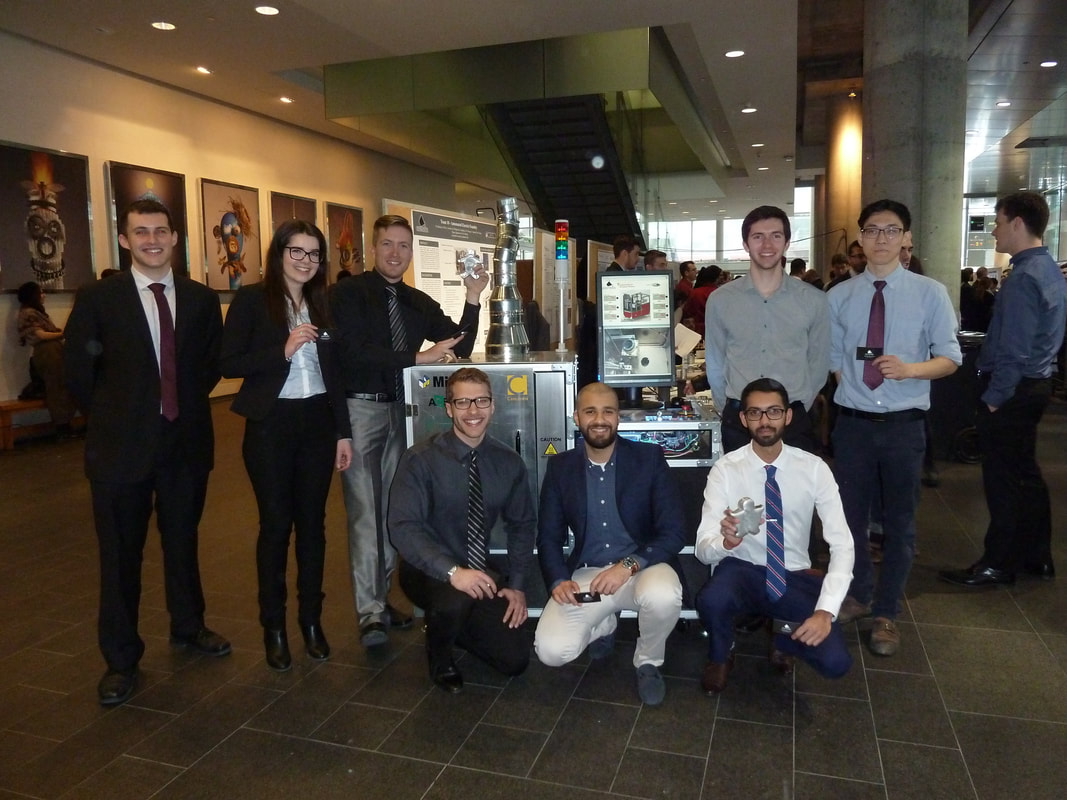 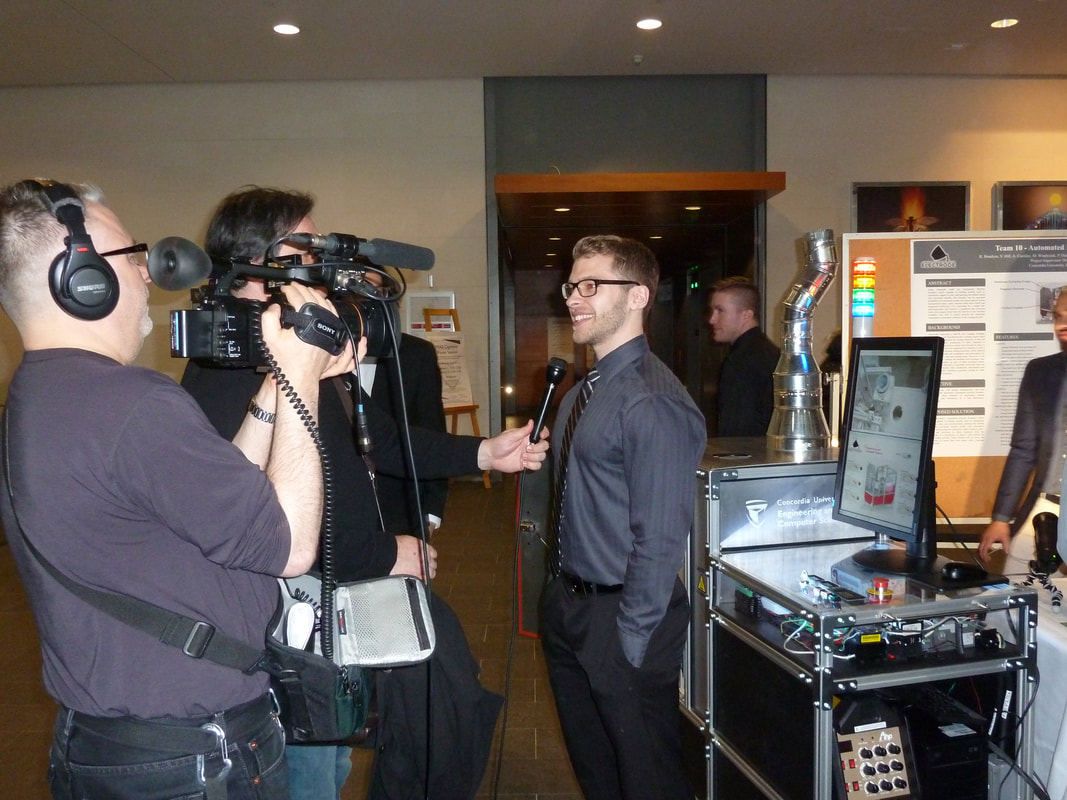 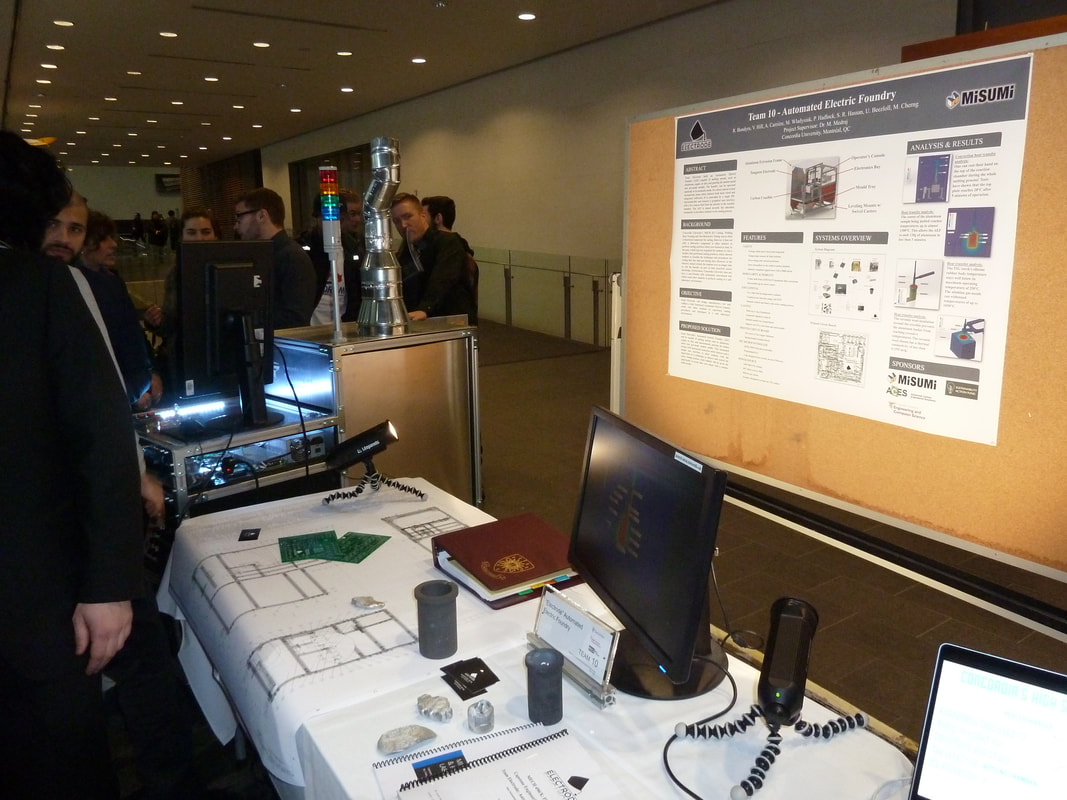 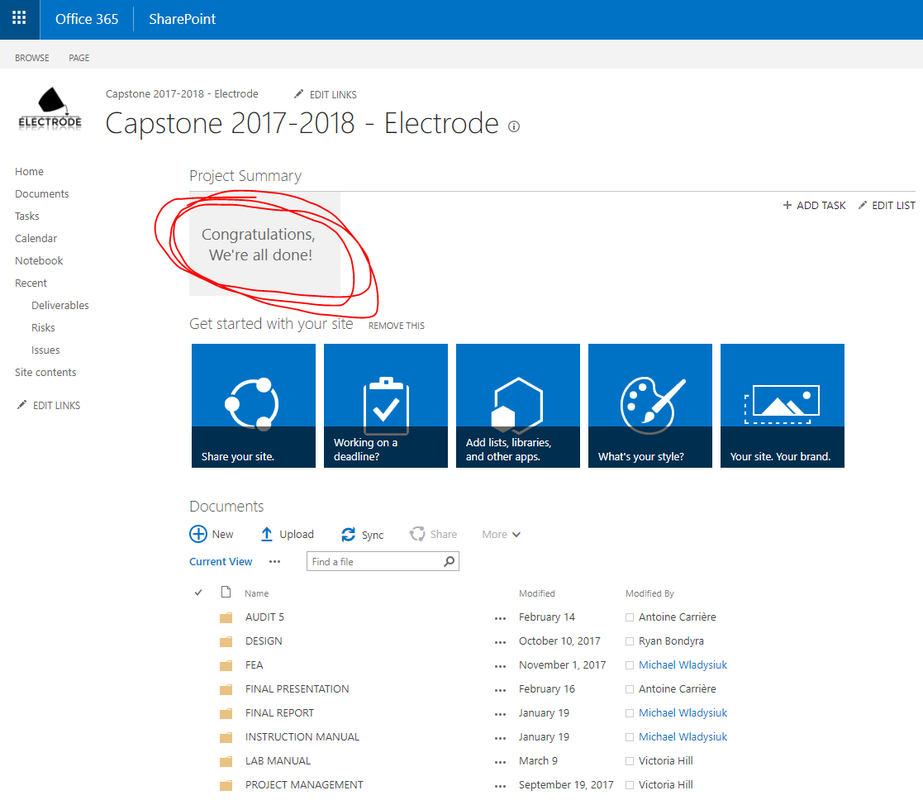 One day left before the poster presentations! The team is hard at work polishing the foundry and making everything look nice. Our poster and our final report are printed and ready to go! As you can see below, we finished installing the missing safety pictograms on the foundry. 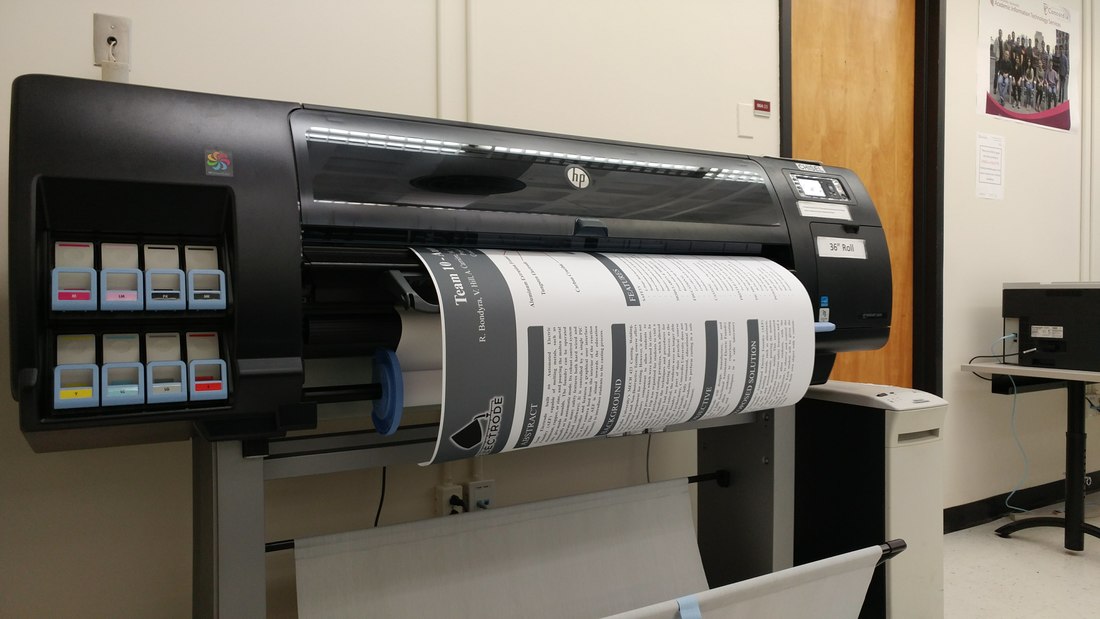 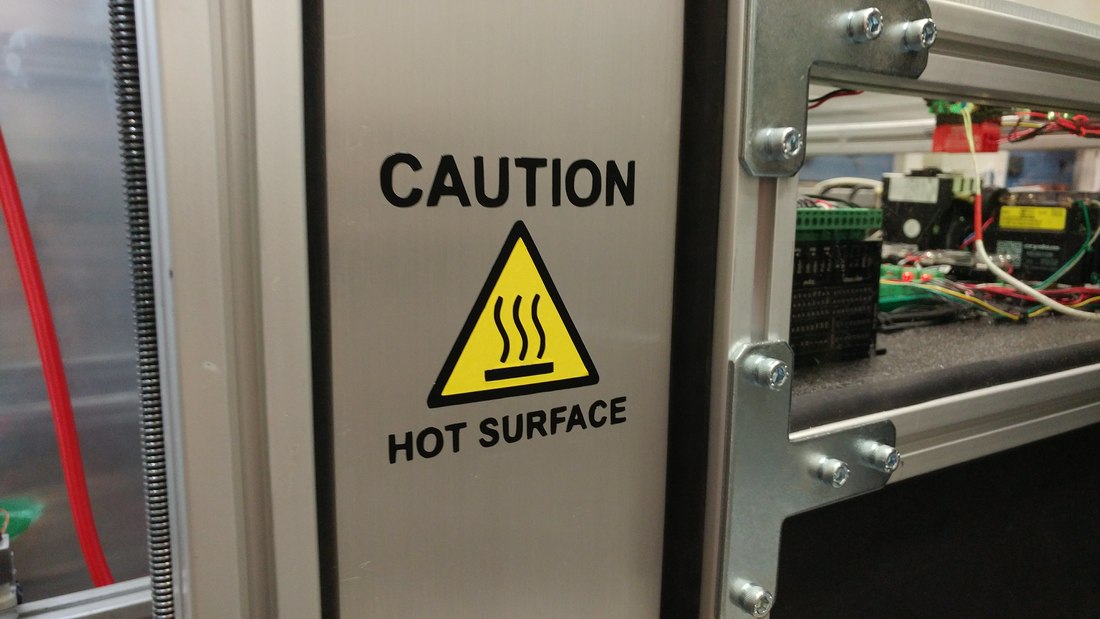 Today, the team finished the small details on the foundry. We cleaned it and installed our sponsors' logos on it. It looks amazing! Check out the pictures below. In the afternoon, we presented the foundry to our customer: Dr. Pugh, Chair of the Department of Mechanical, Industrial and Aerospace. 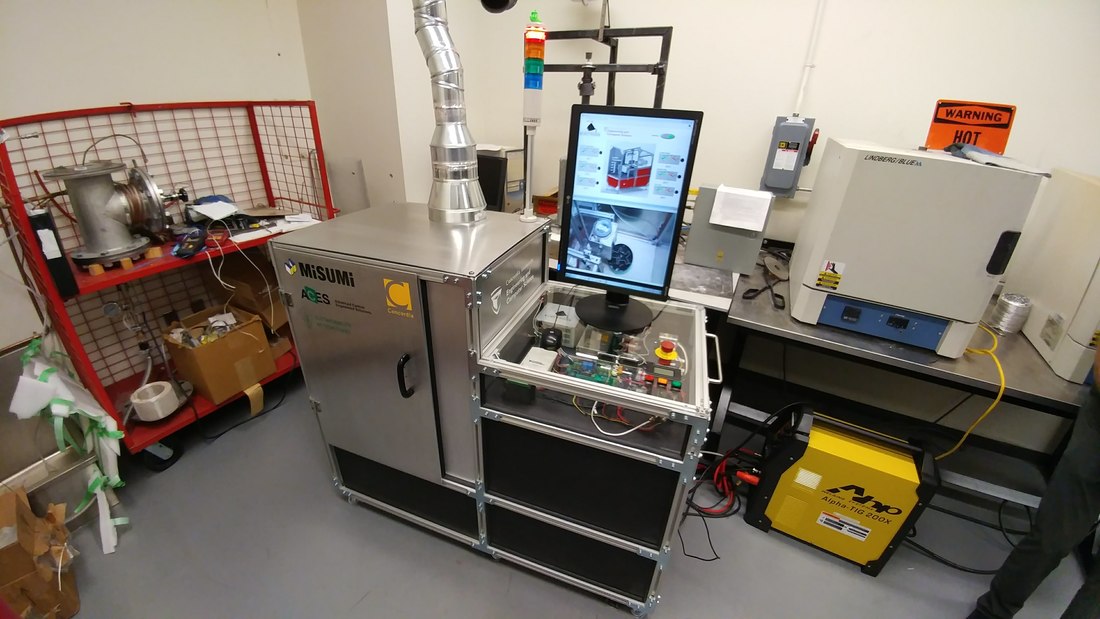 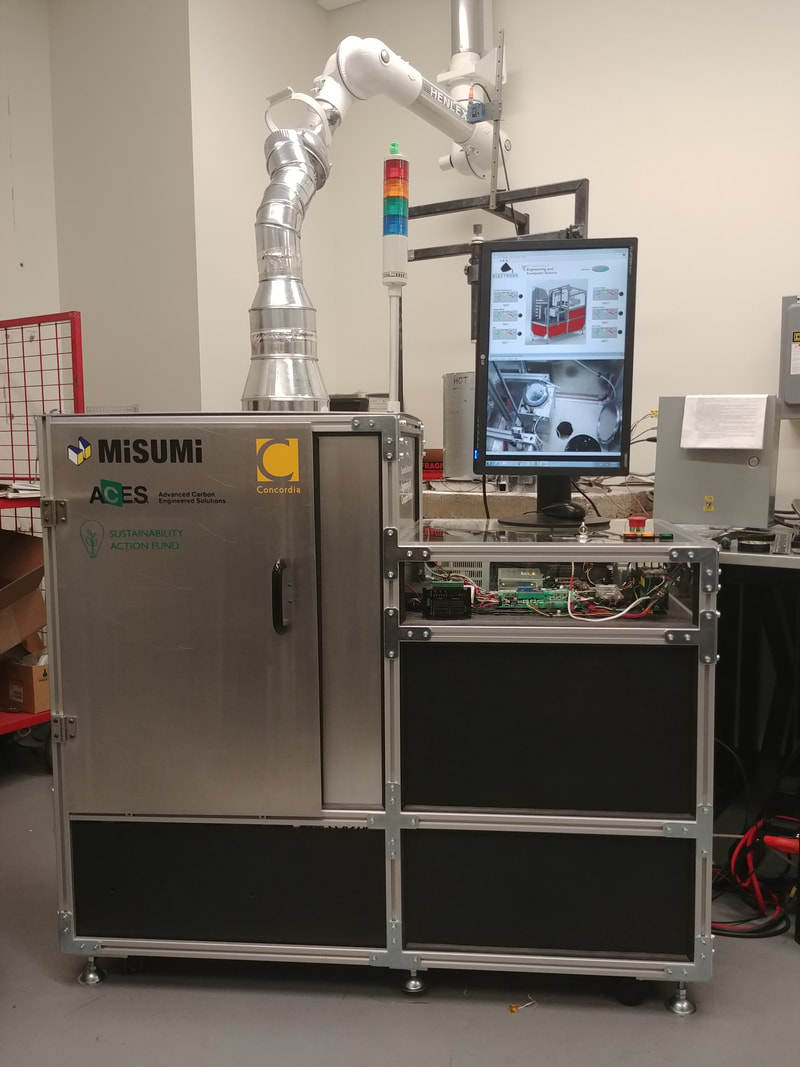 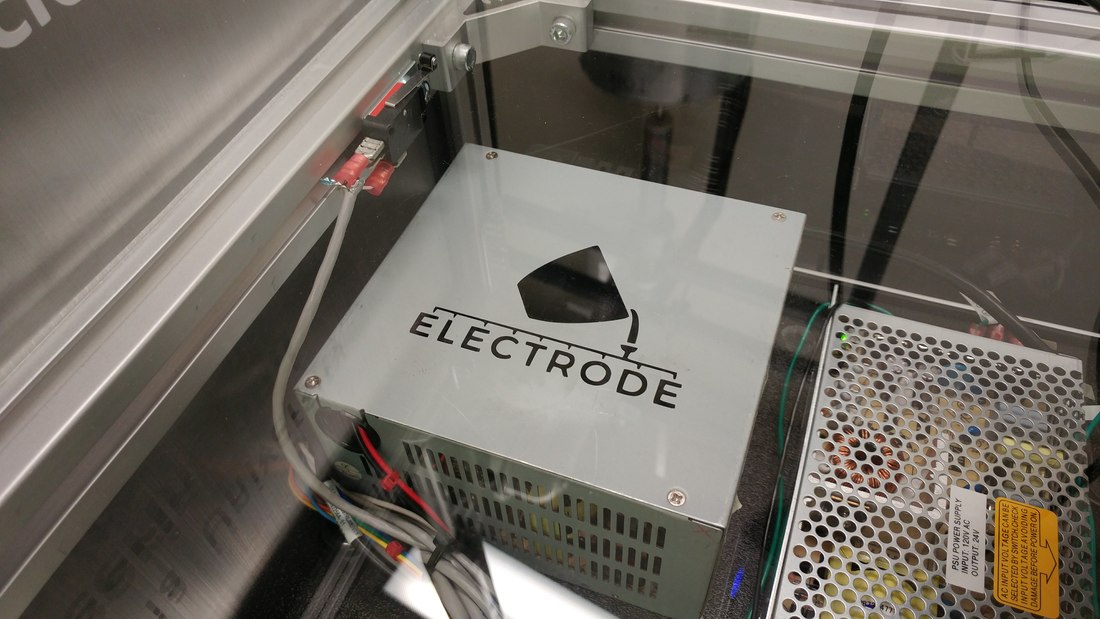 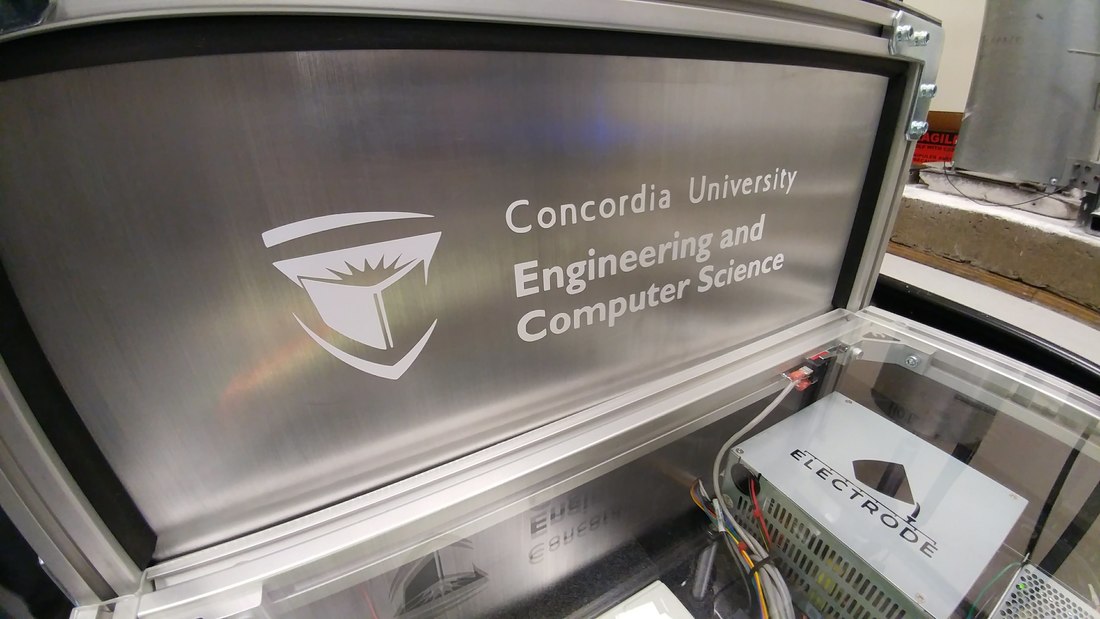 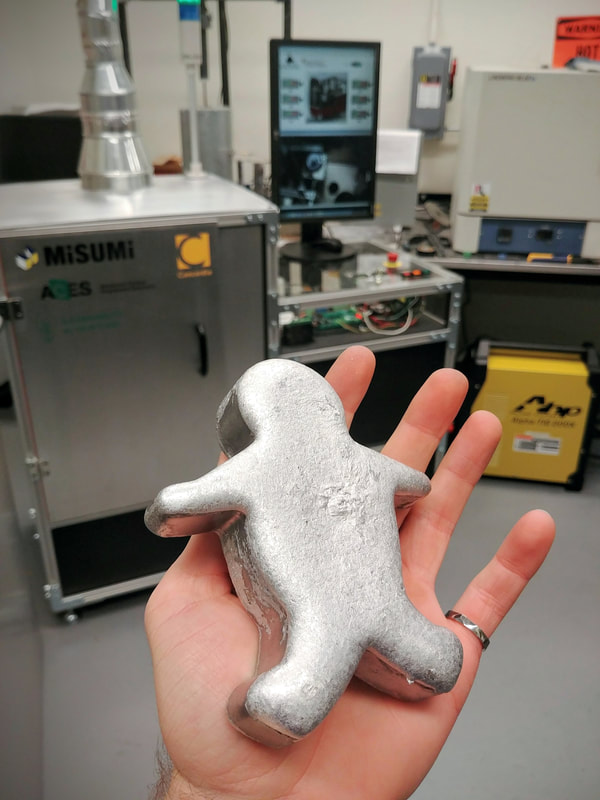 Today, the team fixed the issue we had yesterday. It was the result of installing a bigger carbon crucible without adjusting the limit switches. It caused the electrode holder to contact the crucible and short the ground. The limit switches were supposed to prevent such a thing to happen by signalling the microcontroller to stop the stepper motor that controls the electrode's height. We tested the foundry in automatic mode with the bigger crucible and everything went perfectly. We casted a larger gingerbread man with about 700g of aluminum. Gingy now has a big brother. Stay tuned for the video! 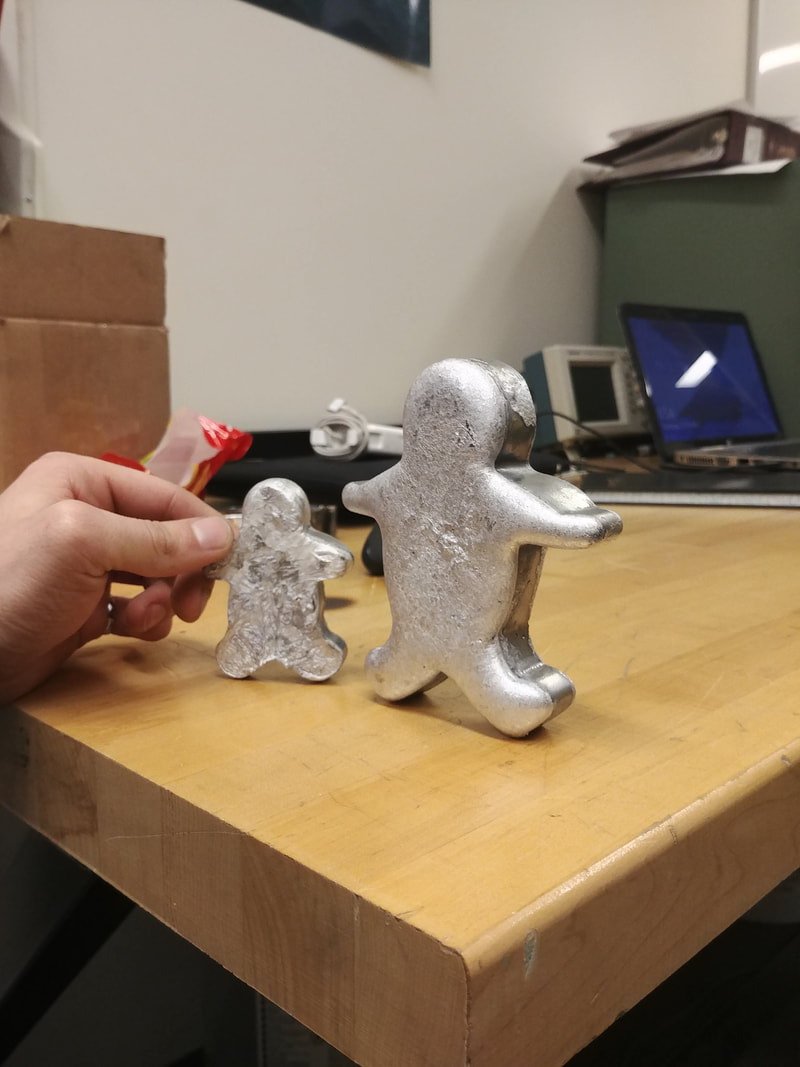 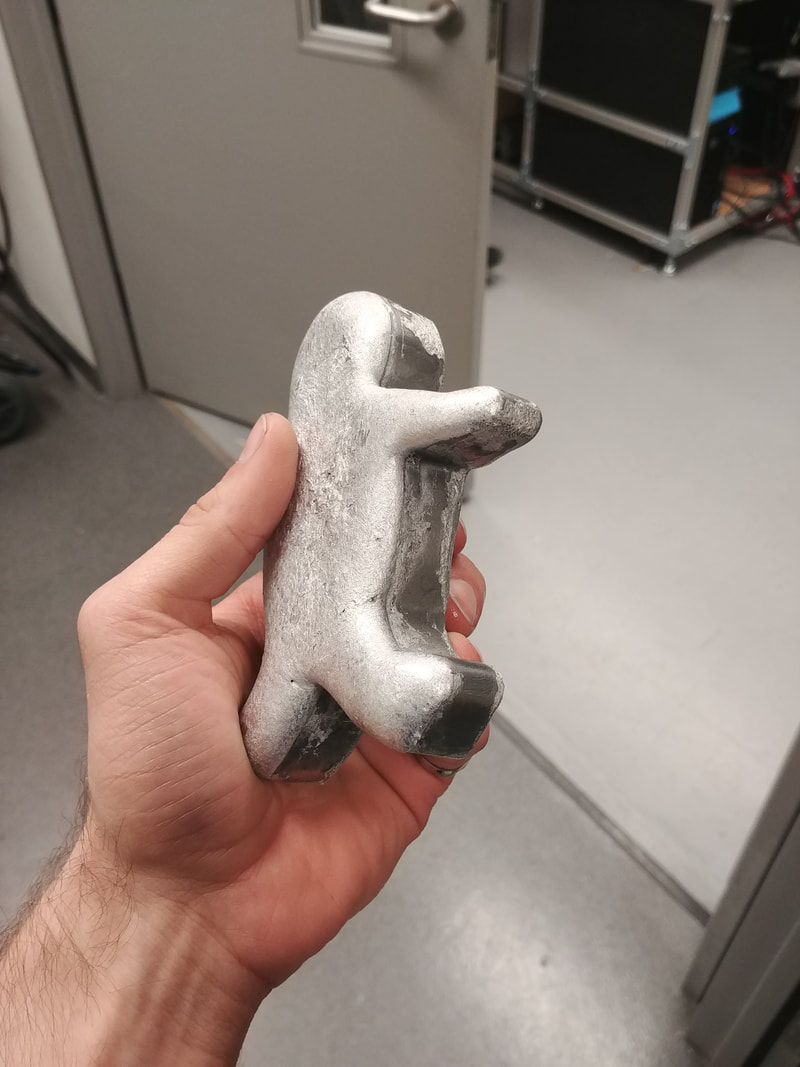 Today, nearly one week from the final presentations, the foundry started giving us problems. During a test, something shorted and caused a copper trace to blow. A couple of resistors and some LEDs got burned out. The team is in investigation mode to find the problem and fix the foundry before the presentations. 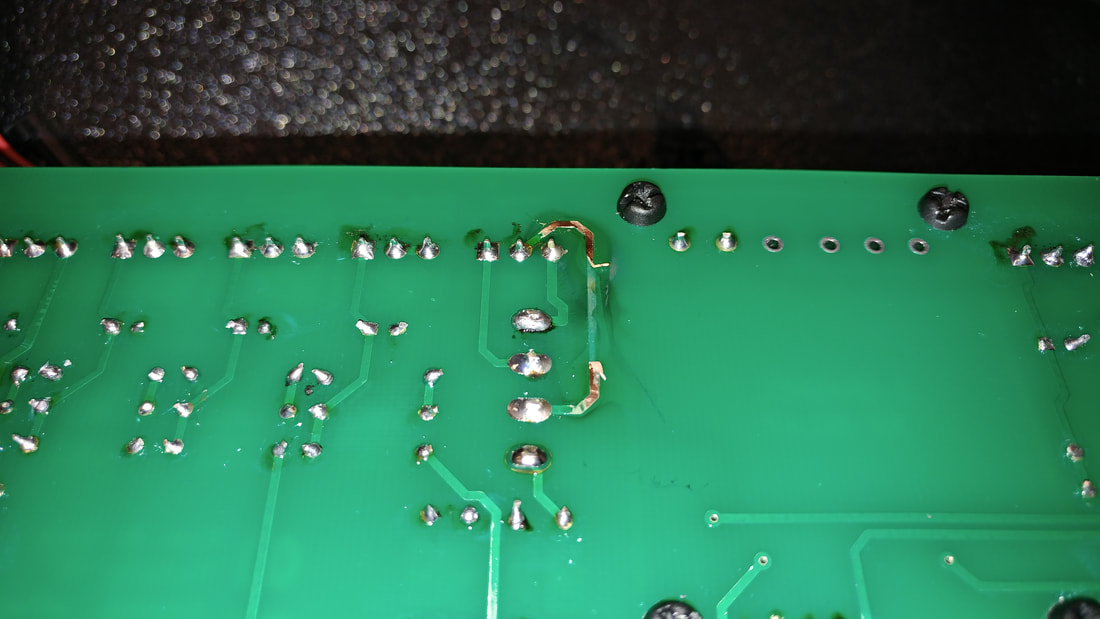 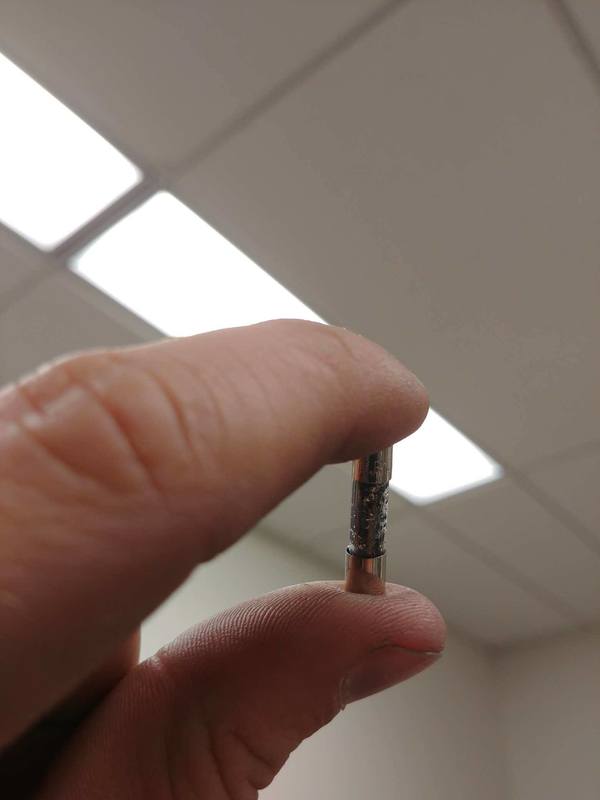 Today was a very productive day. The team spent almost 10 hours making finishing touches on the foundry. The wiring is now finished. It looks much better and neater now! We received another shipment from Misumi. The shipment contained a bunch of little parts that were needed because of small modifications in our design. Towards the end of the day, the team experimented with casting. Cookie cutters were placed in sand to make a mould. It worked suprisingly well! The results are shown below. *The videos are timelapses. All the wires you see going out the door are thermocouples. We installed a few of them while we test in order to validate our calculations and simulations. 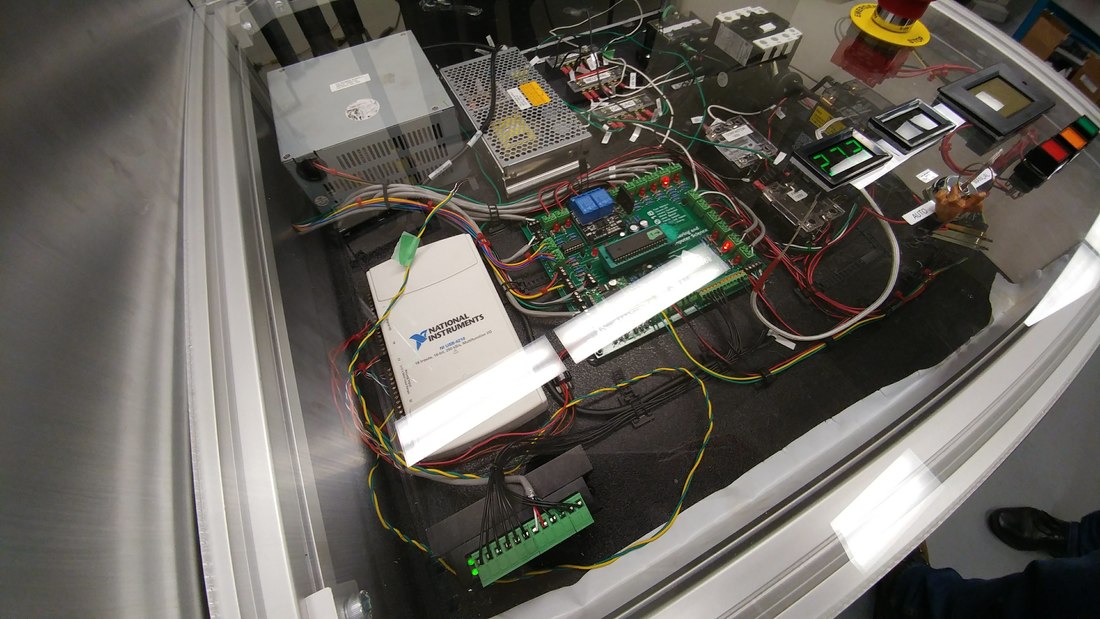 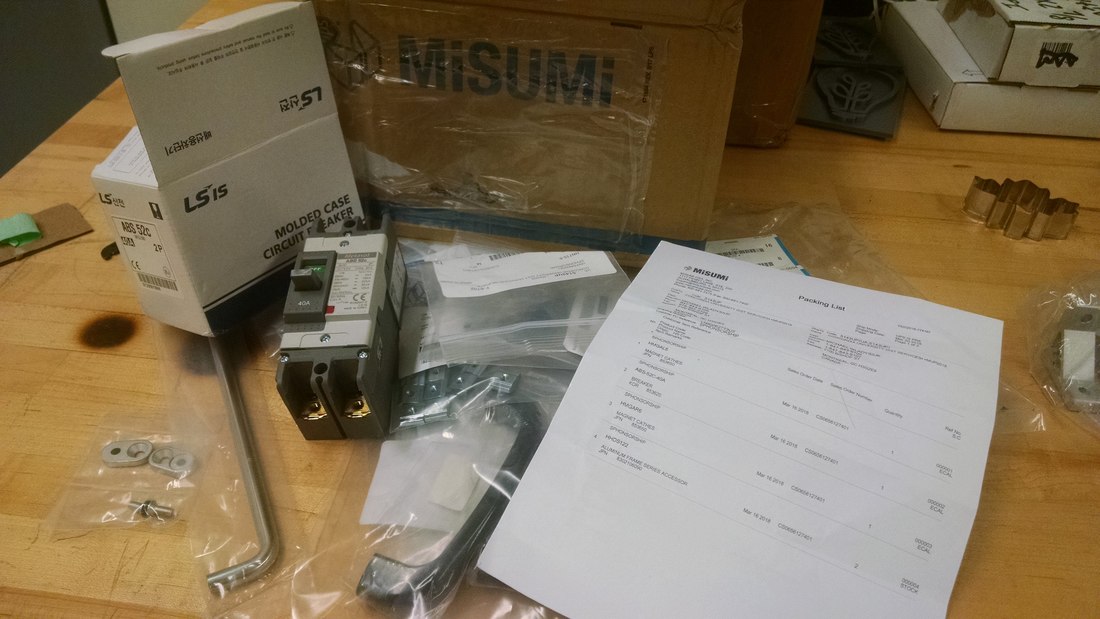 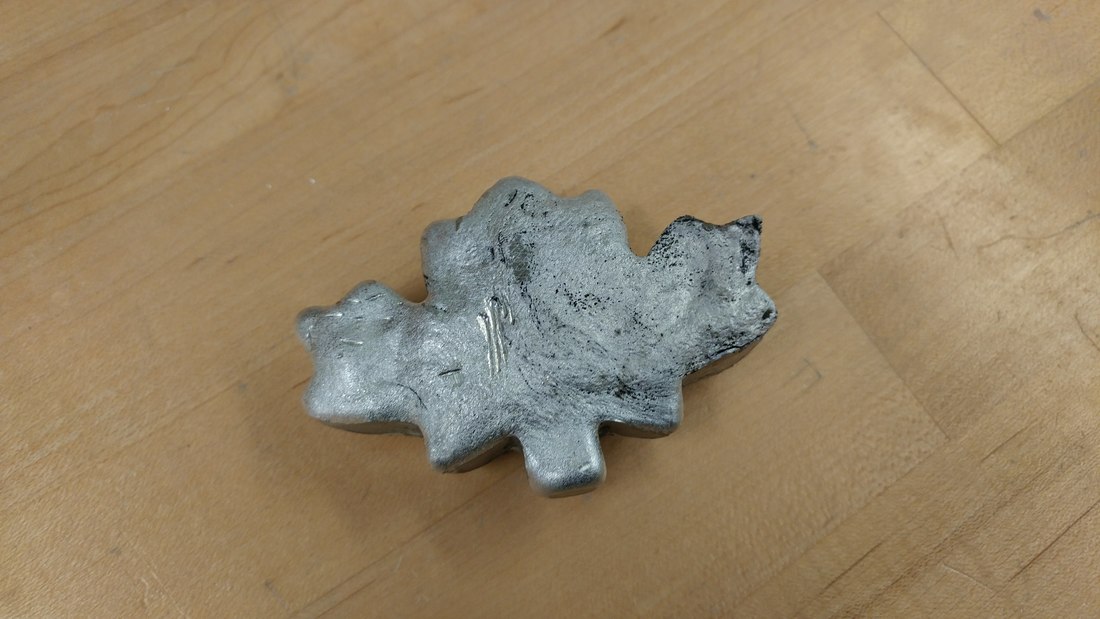  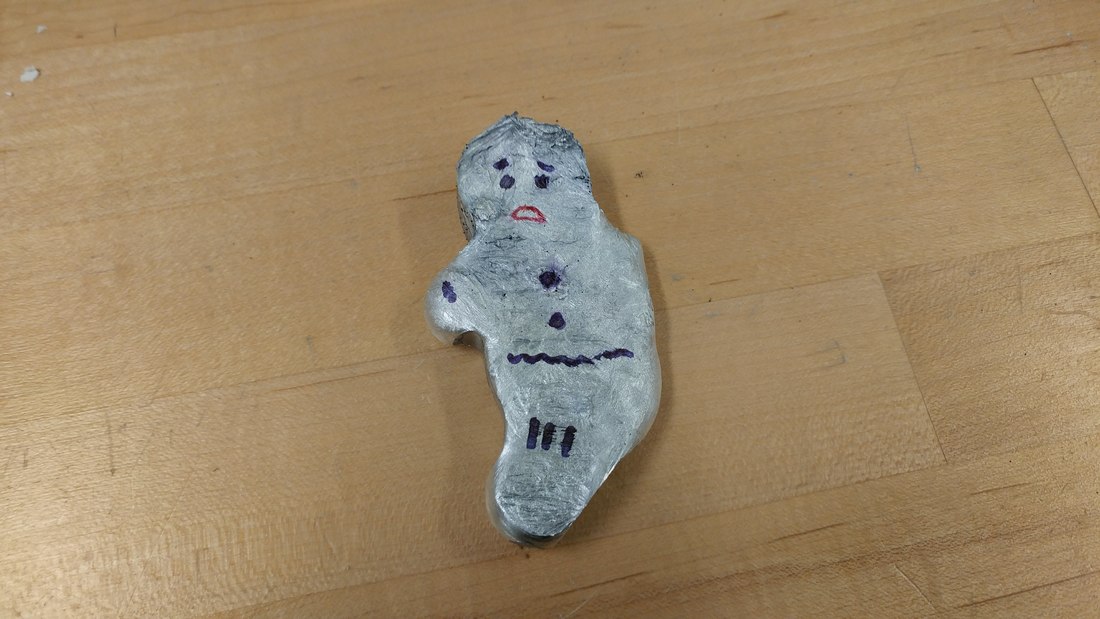 Our very own Gingy.
Today, the team worked on wiring the new board. Antoine made a DB25 connector to be able to quickly disconnect the control panel. We should be able to have the foundry working again by Friday. As you can see in the last image, the team printed PLA parts on a 3D printer. Those parts will be used to create molds out of sand to cast aluminum. Stay tuned! 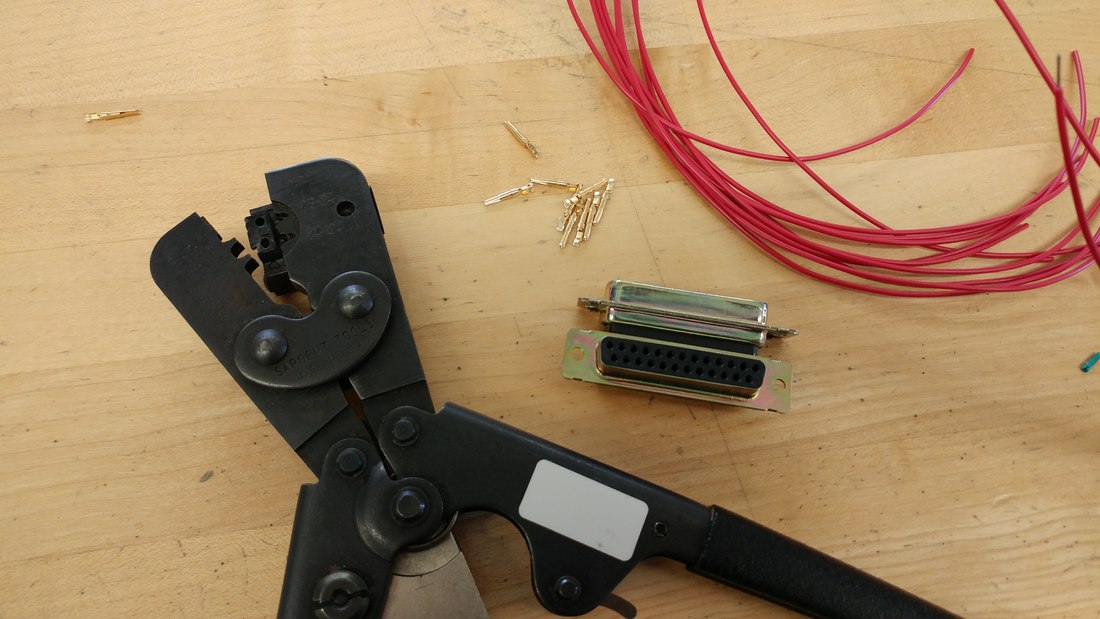 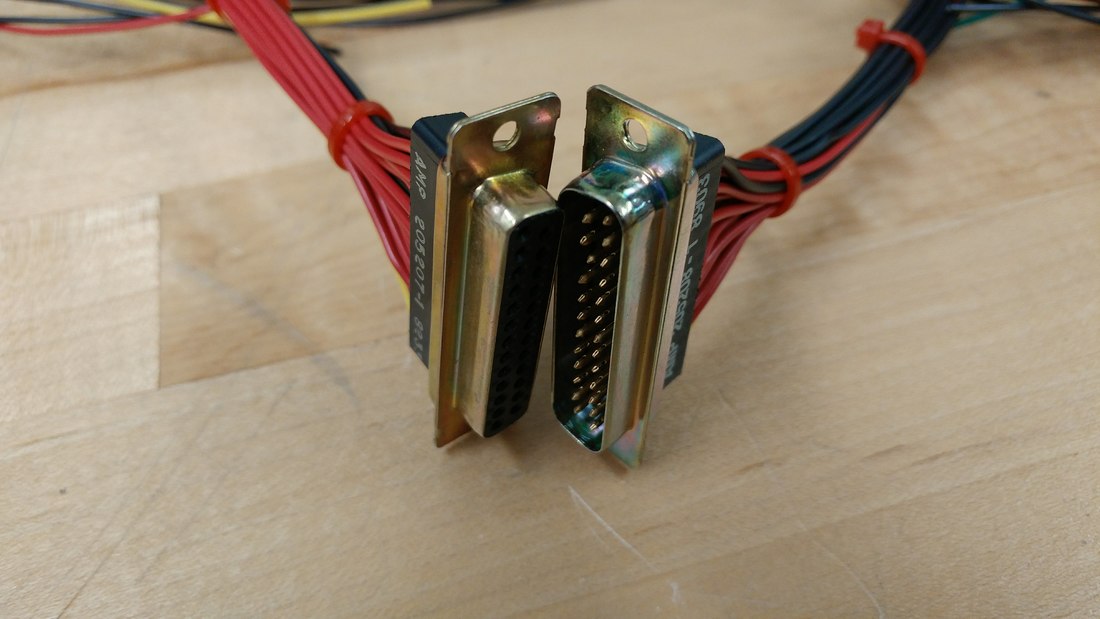 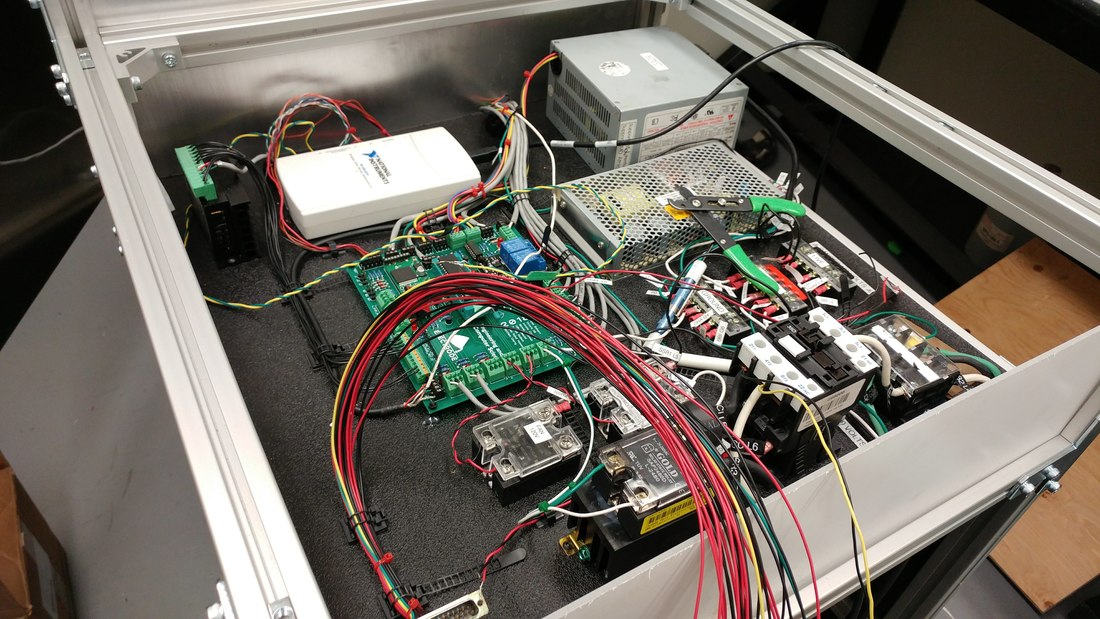 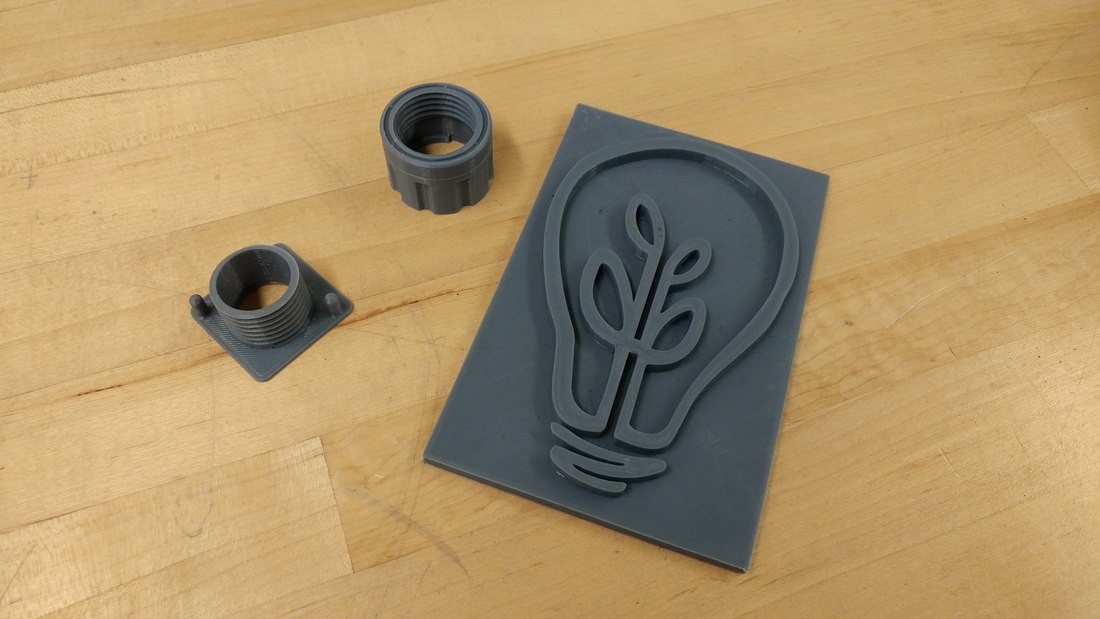 Today, we purchased the missing resistors. The new board is now complete! All that is left is to wire everything up again. 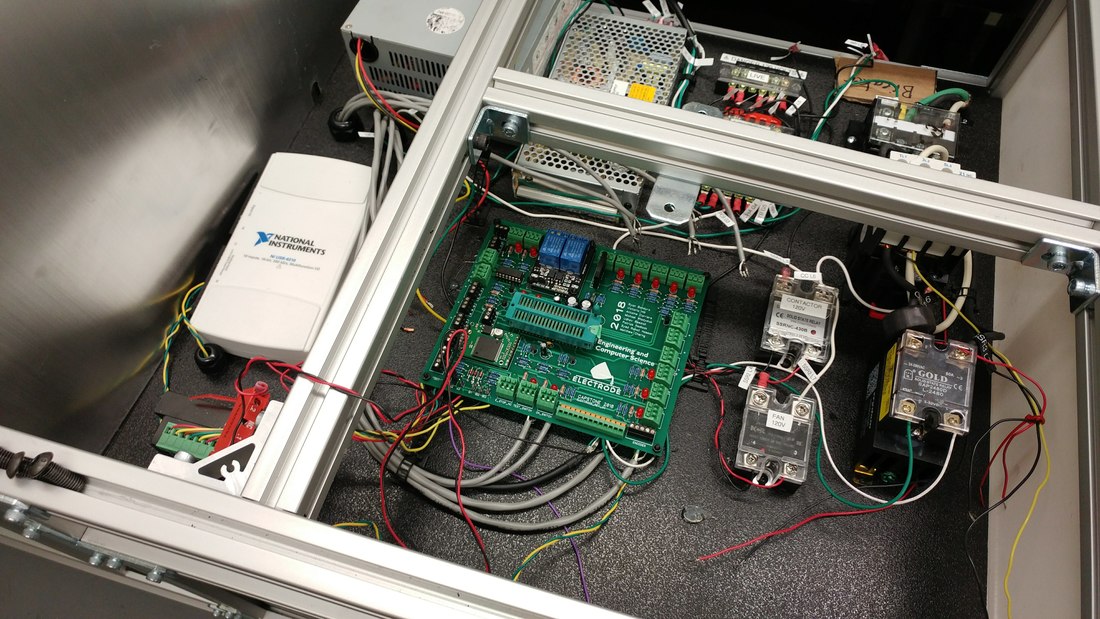 Today, the team received the new PCB from JLCPCB. Right away, Ryan and Antoine started assembling it. It took around 4 hours to solder on all the new components. If you look closely at the second picture, you'll see that we're missing components. That's because we ran out of 220 ohm resistors, so we'll have to go shopping tomorrow... As soon as we get those, we'll be able to start testing the foundry with our latest program. Our new program incorporates a bunch of new features that were made possible by designing a new circuit board. 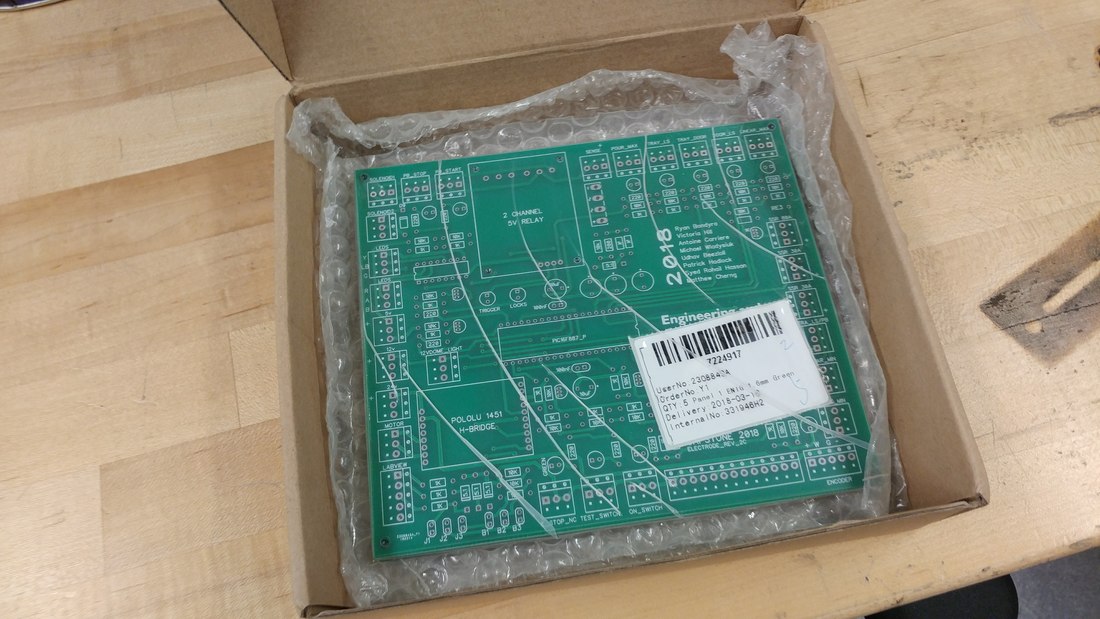  Yesterday, the team finalized the foundry's circuit. We ordered a new PCB from a manufacturer in China. We should be getting it next week. It takes 2 days to manufacture and 3 days to ship! 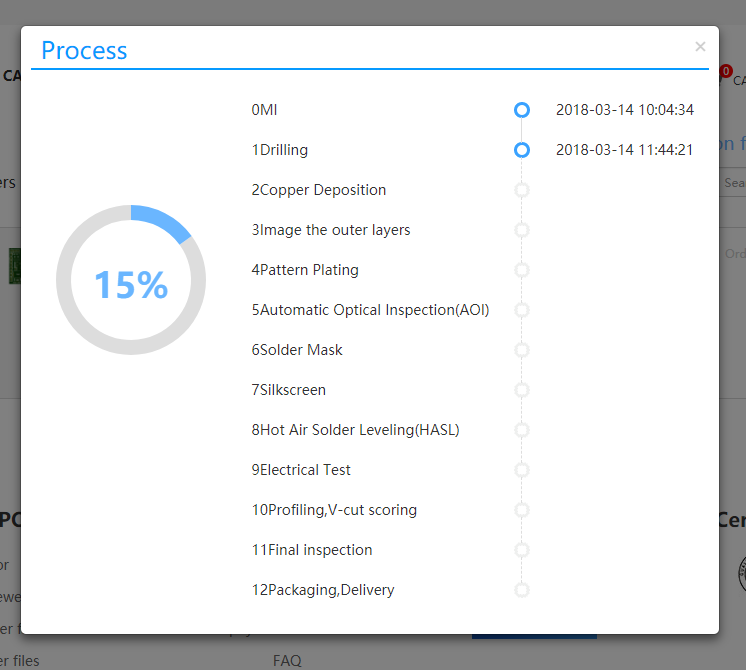 "Ordering a PCB is a lot like ordering a pizza." -Ryan 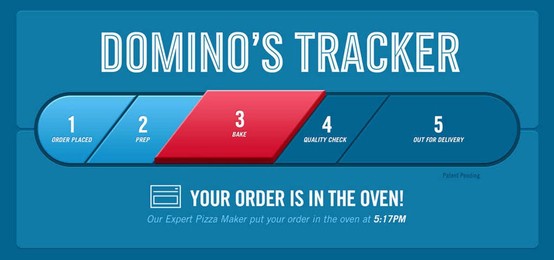 [1] [1] https://i.kinja-img.com/gawker-media/image/upload/s--OZK1Fr72--/c_scale,fl_progressive,q_80,w_800/xsmfg4vutfyvk0nyw8tr.jpg
Today, the team had their last audit from the professors. We gave them a brief update on the work completed followed by an unveiling and demonstration of our machine. Needless to say, they were impressed! From now on, the team will concentrate on writing the final report and preparing the final presentation.  Today was an exciting day for the team! The foundry melted and poured aluminum for the first time... Autonomously! We just placed a piece of aluminum in the crucible, closed the door and pressed the green button. What happened next can be seen in the video below. *The video is a timelapse. 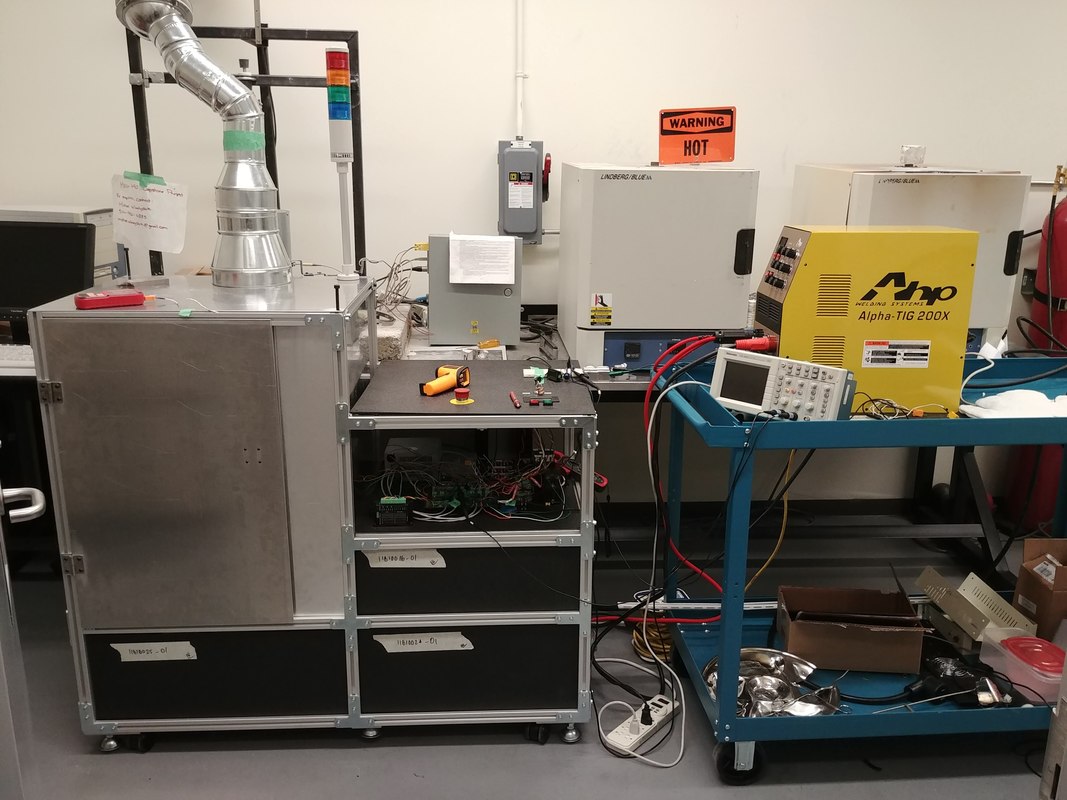 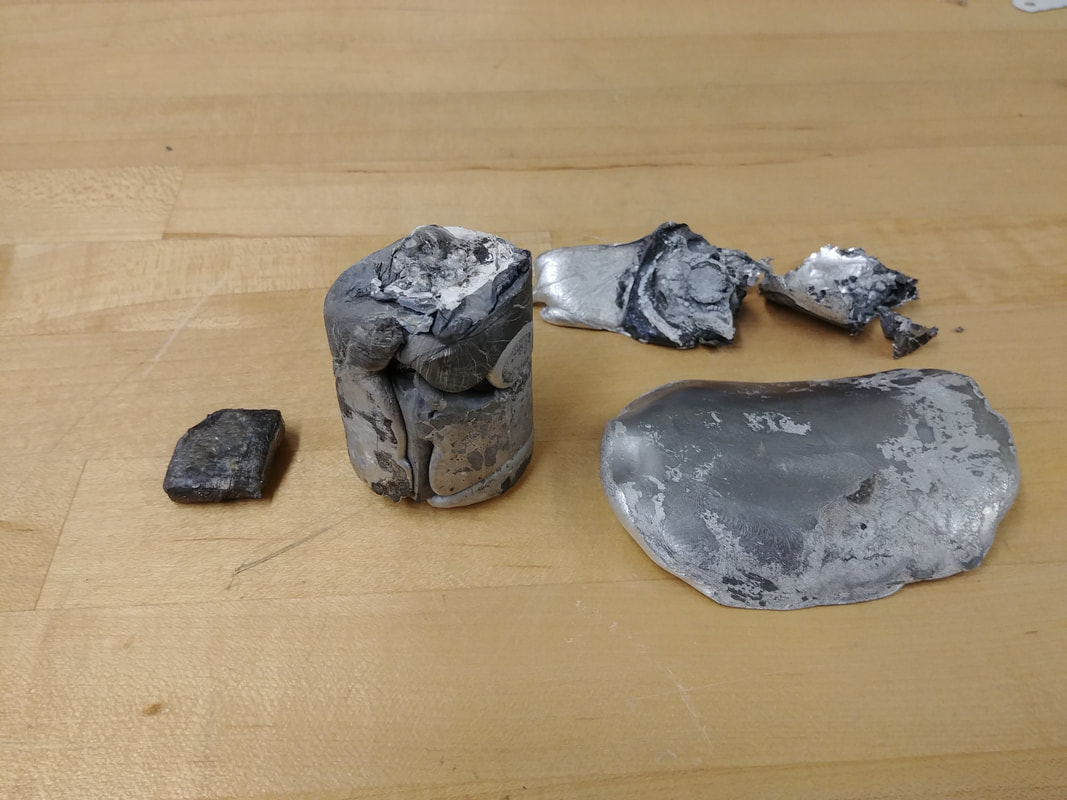 Today, the team finalized the details of tomorrow's test. We installed a camera inside the reaction chamber to film the whole melting process. The camera is part of the final design. The video feed will be incorporated to our user interface. This way, the operator will be able to see what's happening inside before opening the door if a problem occurs. 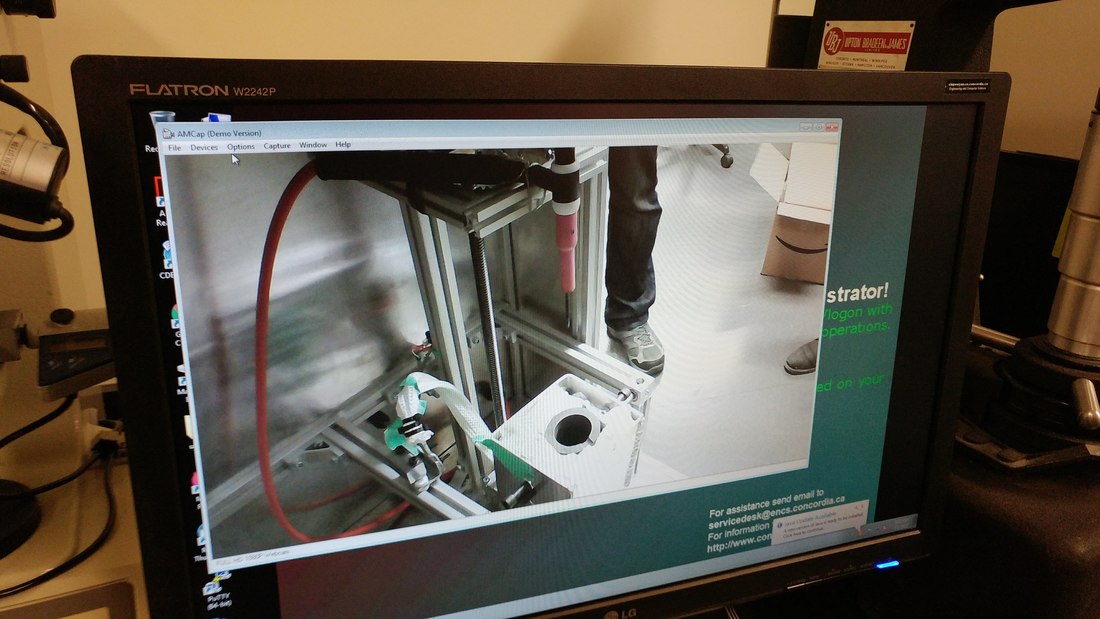 After numerous tests, we concluded that we can no longer use the high frequency mode on the welder. It created too many problems. First of all, it produced too much electrical noise (even though we are using shielded wires). It gave our foundry a mind of its own! Once during a test, the foundry started doing weird things when the high frequency turned on. Weird things, as in moving the electrode up and down while pouring without even being commanded to! Second of all, the welder somehow knew our circuit was connected to it. The welder had problems starting an arc each time we were trying our circuit. So, back to the drawing board! We studied the welder and found another place we can measure voltage with the high frequency disabled. We created a simpler circuit, as shown below, that uses a single op-amp instead of two. 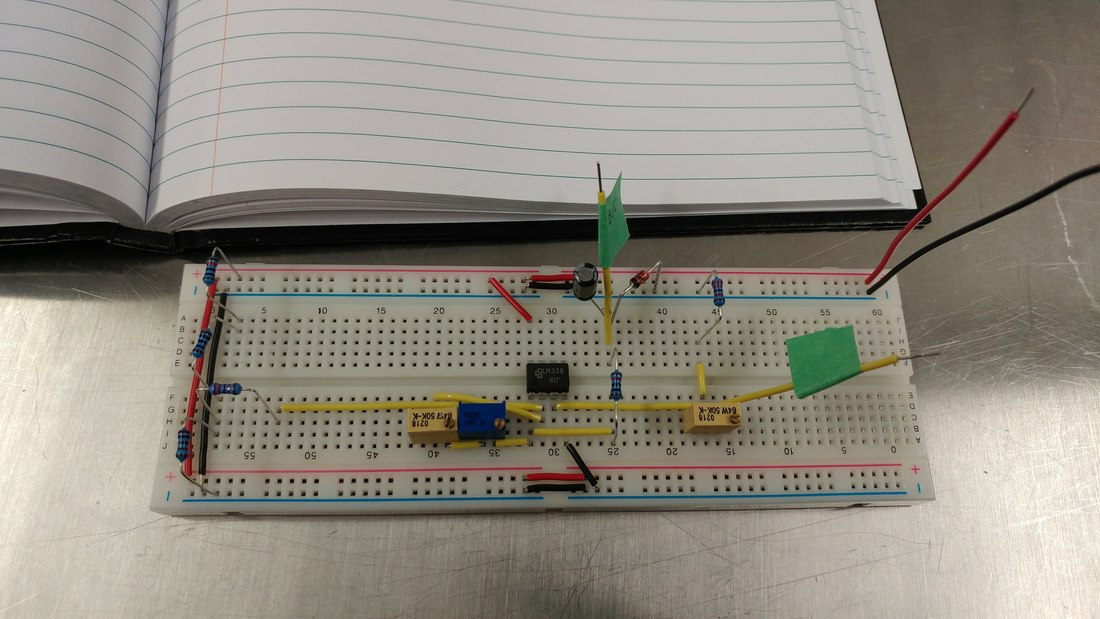 Today, the team spent the day re-wiring the entire foundry. Now that we know where all the components will be placed, we were able to start drilling holes and inserting wire glands to make it look clean. It's a lot of work! The biggest mistake we made was to unplug all the wires at once... It made the job so much longer! We had to use the continuity testing feature on the multimeter to find out which one was which when came the time to plug everything back in. Stay tuned for part 3 when we'll receive our new PCB. 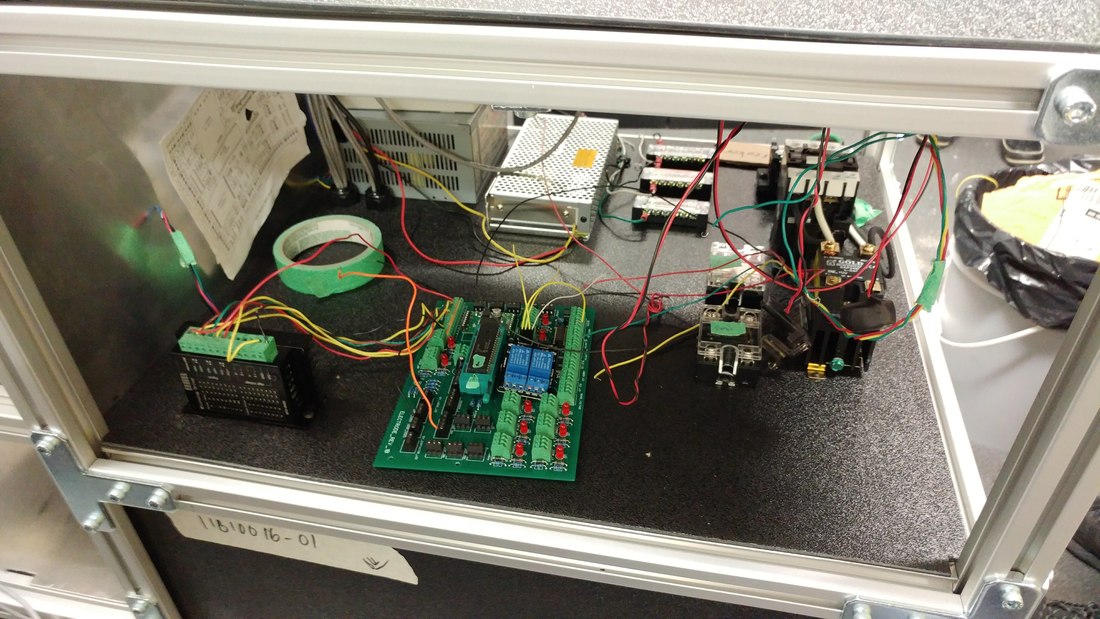 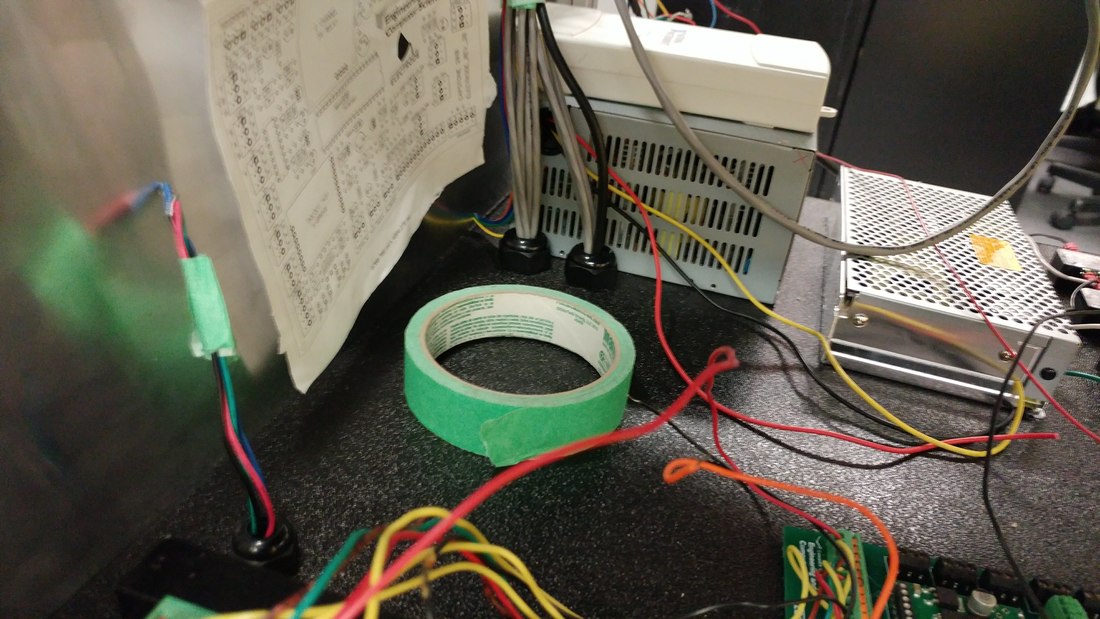 Before: 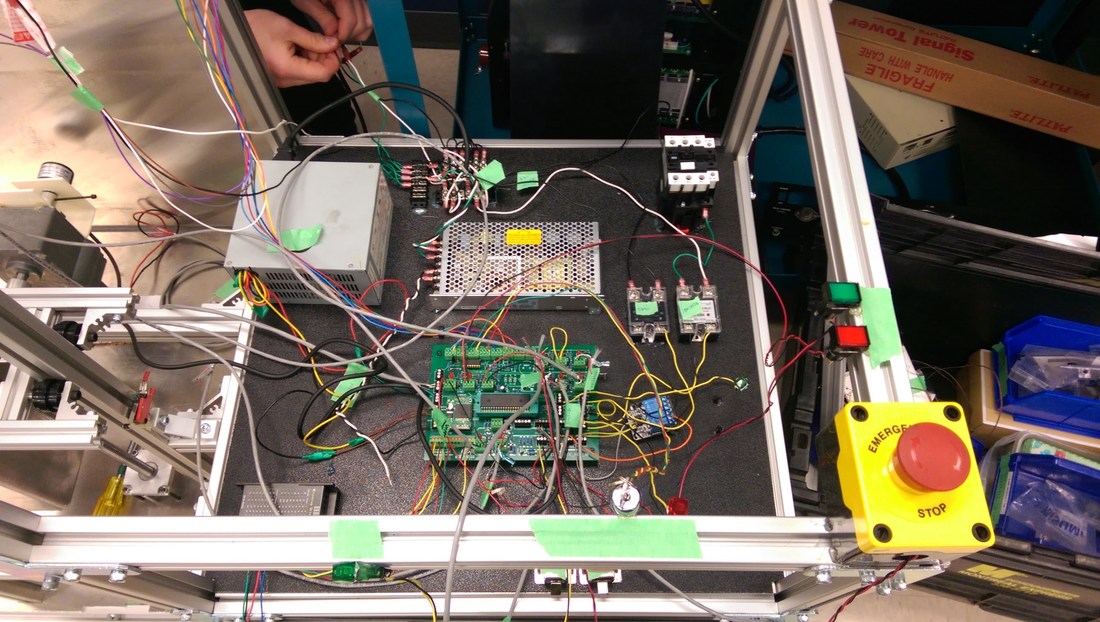 We spent the day testing our arc control system. The system we designed measures voltages inside the welder to be used as feedback. We needed to take down the voltages in order to fine tune our circuit. In the video below, you can see the changes in voltage across a component as the welder's high frequency is turned on. You can also see the spark gap which is a key component of the high frequency circuit. Here are a few renders from our team's heat transfer analysis of the foundry's reaction chamber. Just take a few minutes to enjoy the cool images and videos. Stay tuned: we'll be doing a few tests later to see if the foundry behaves like the finite element analysis predictions. 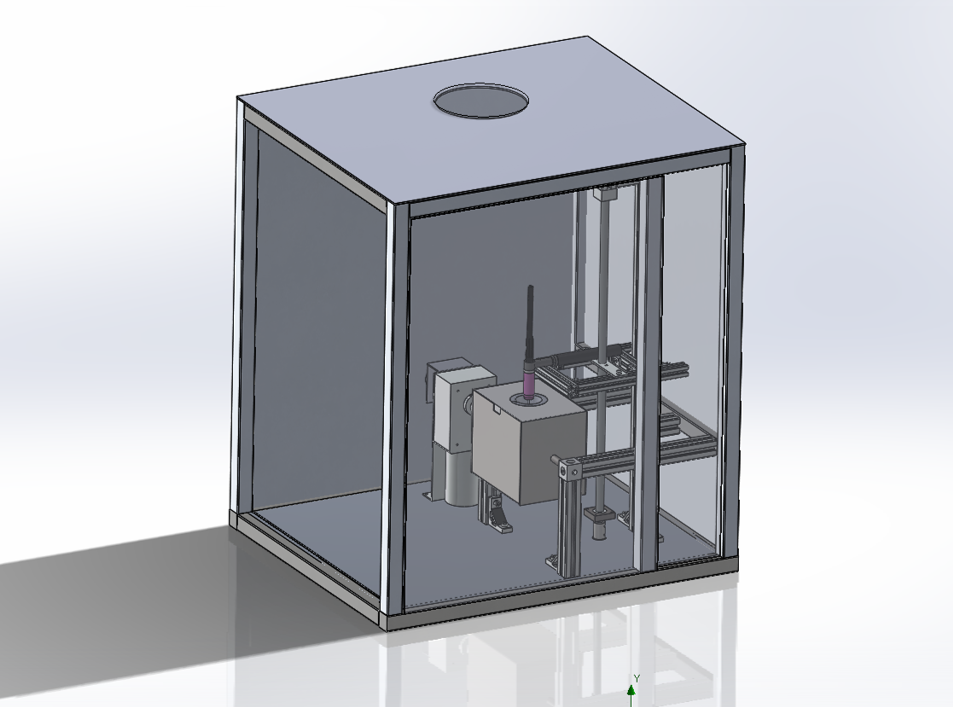 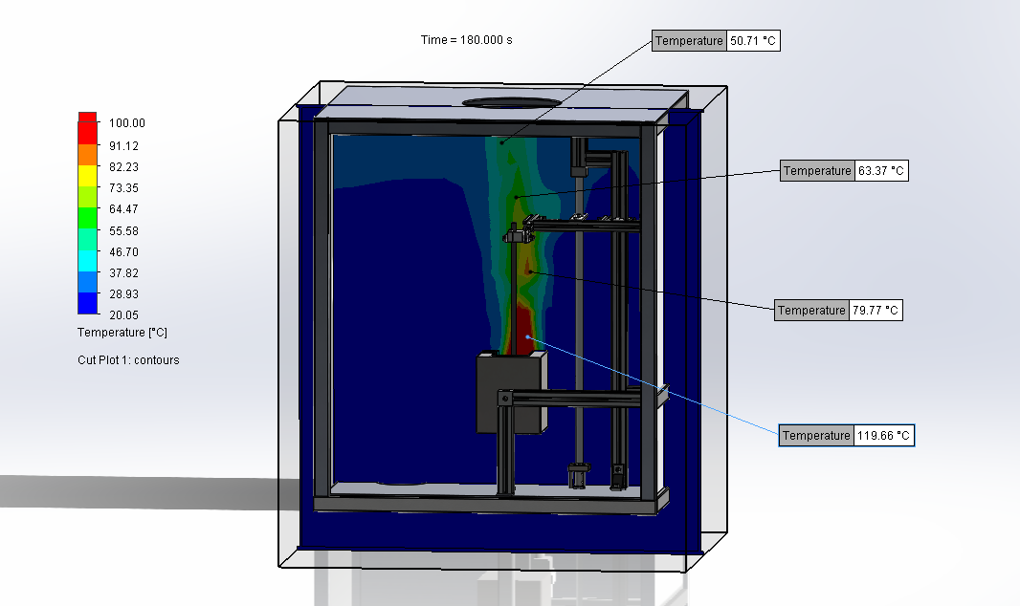 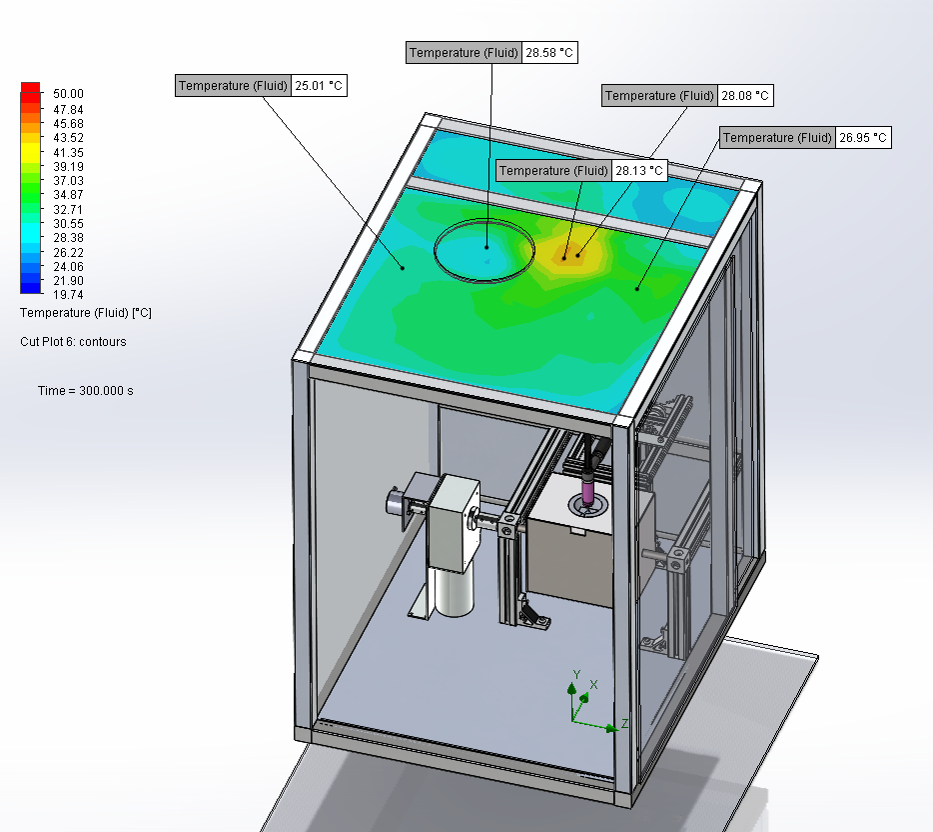 The project being in the home stretch, the team needed somewhere to work efficiently without distractions. Dr. Medraj, our project's supervisor, accepted to let us work in his lab. Therefore, the team moved from Gilles' lab in the Hall Building to our new location in the EV Building. This new location is much quieter. We won`t have to worry about other students messing around with our project while we aren't there. 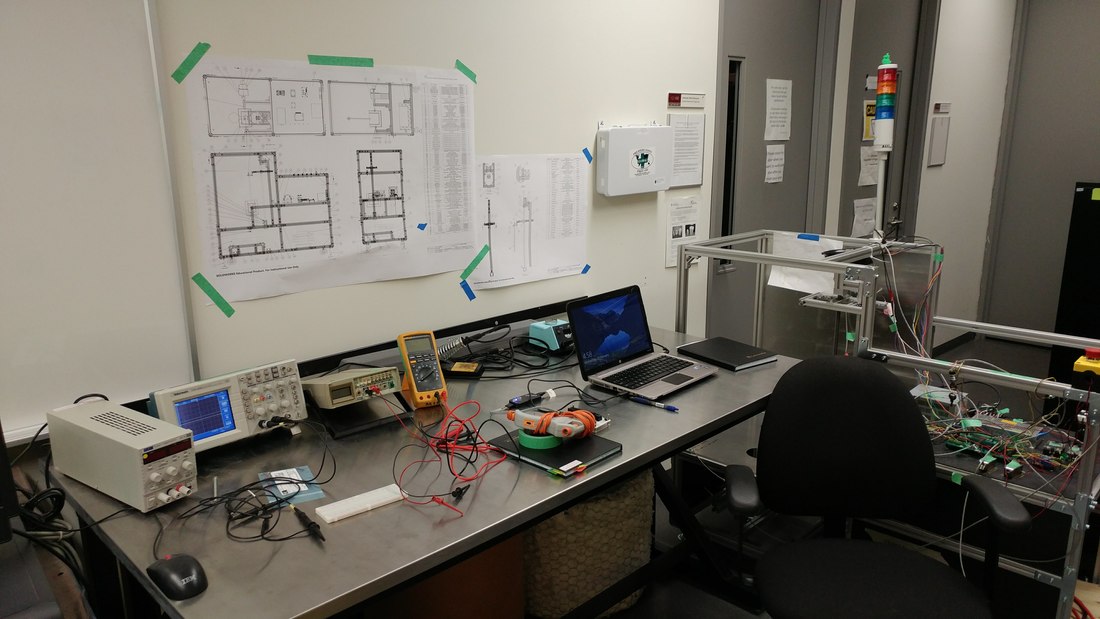 Lots of progress made today! Mike, Victoria, Antoine worked on wiring all the components on the foundry. We're talking all the limit switches, the lights and the electric motors. Meanwhile, Rohail was working to get the LabView interface working. As soon as everything is wired up, we'll turn the power on. We can't wait to see the machine work! 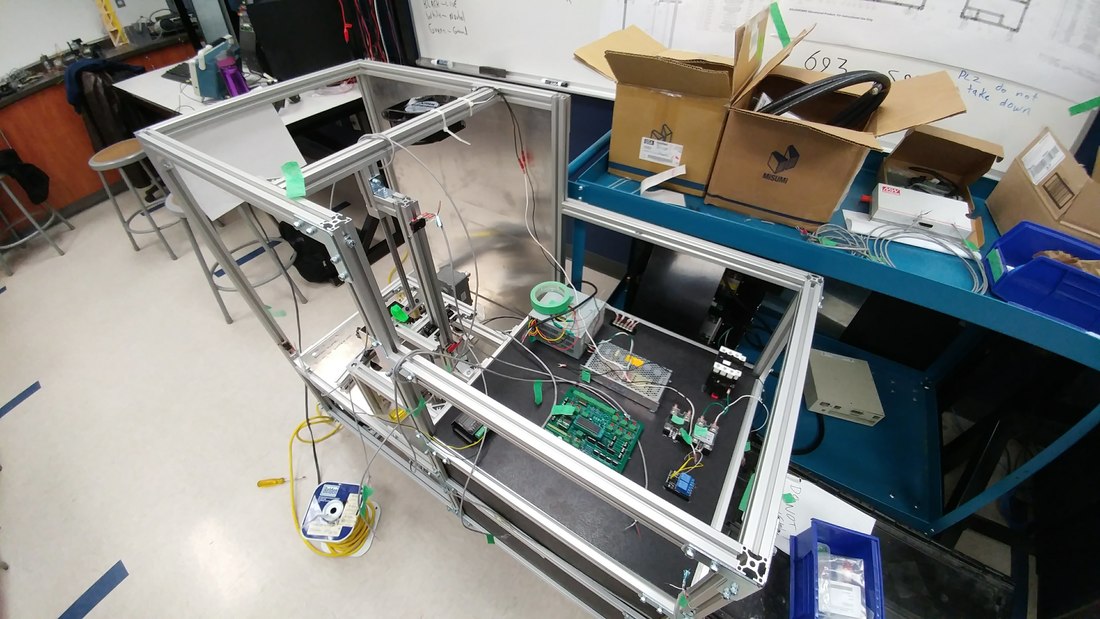 Today, Ryan finished the circuit board. With Mike's help, he connected all the motors, actuators and lights to it. He then tested the board by loading a test program on the PIC microcontroller. Everything worked out as planned! Now, the team can concentrate on finishing the foundry's frame. Right now, our efforts are concentrated on the electrode's lowering mechanism. It has very tight tolerances to prevent excessive friction in the leadscrew. Once the frame is done, we'll be able to begin melting aluminum and make the final adjustments! Here are some pictures of the progress. 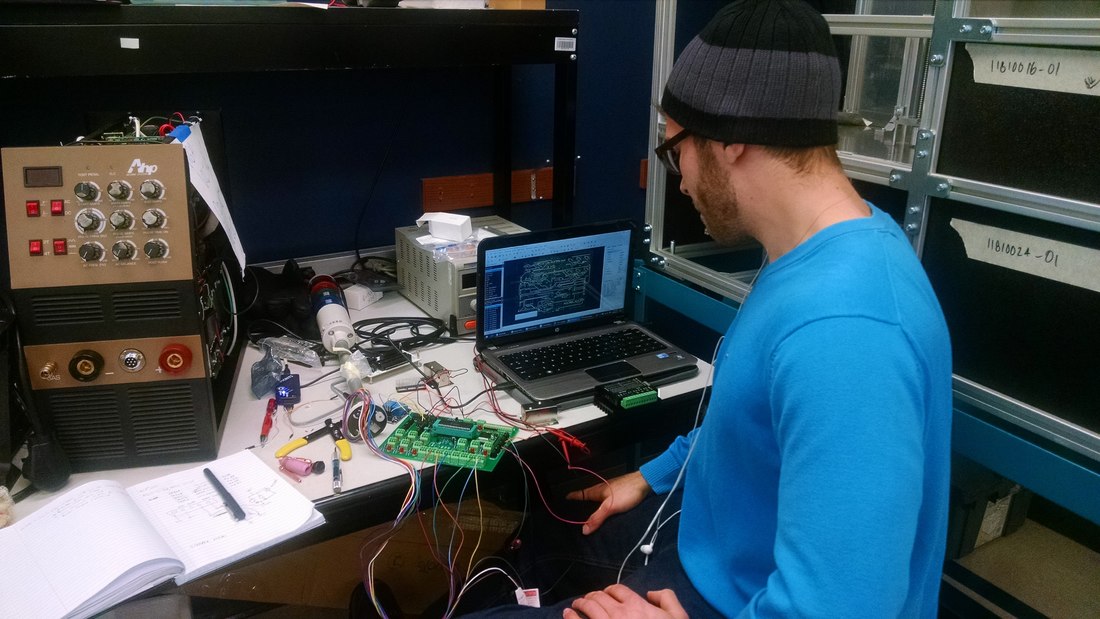 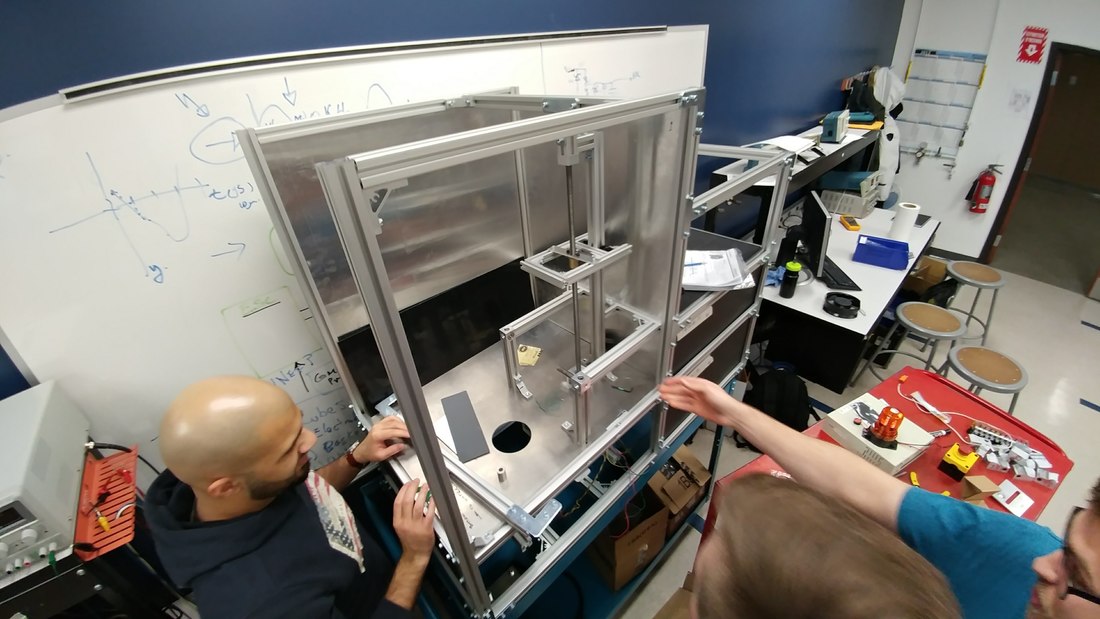  Our circuit board is taking shape! We received it last Monday from China. Ryan has been soldering the components on it as we receive them from suppliers. It's almost done. Below is an image of the foundry's bottom plate set-up on the water jet cutter. 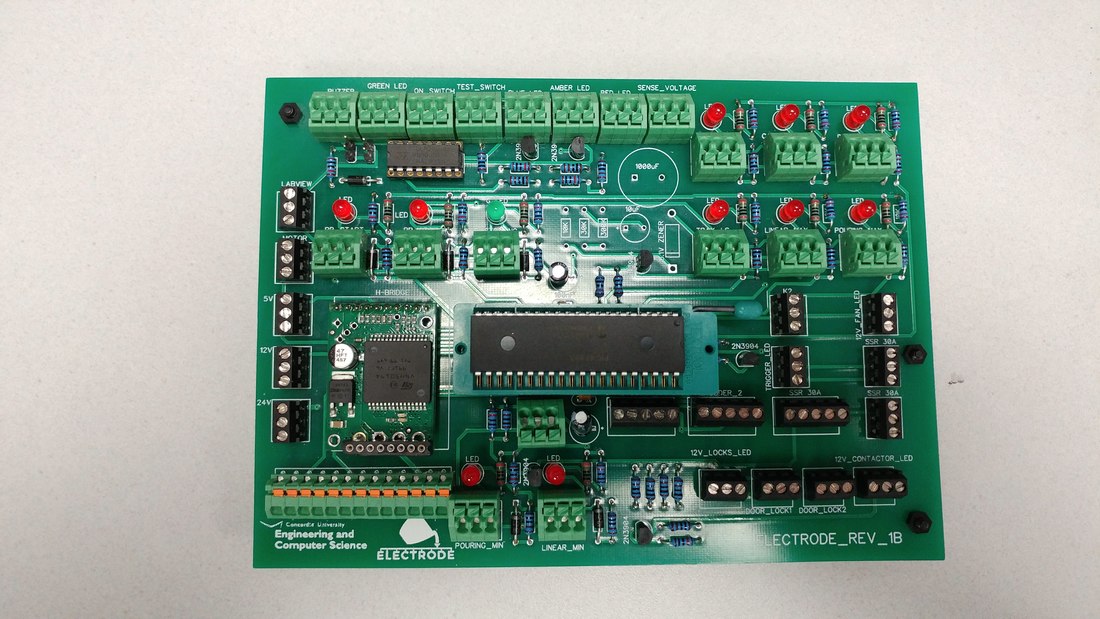 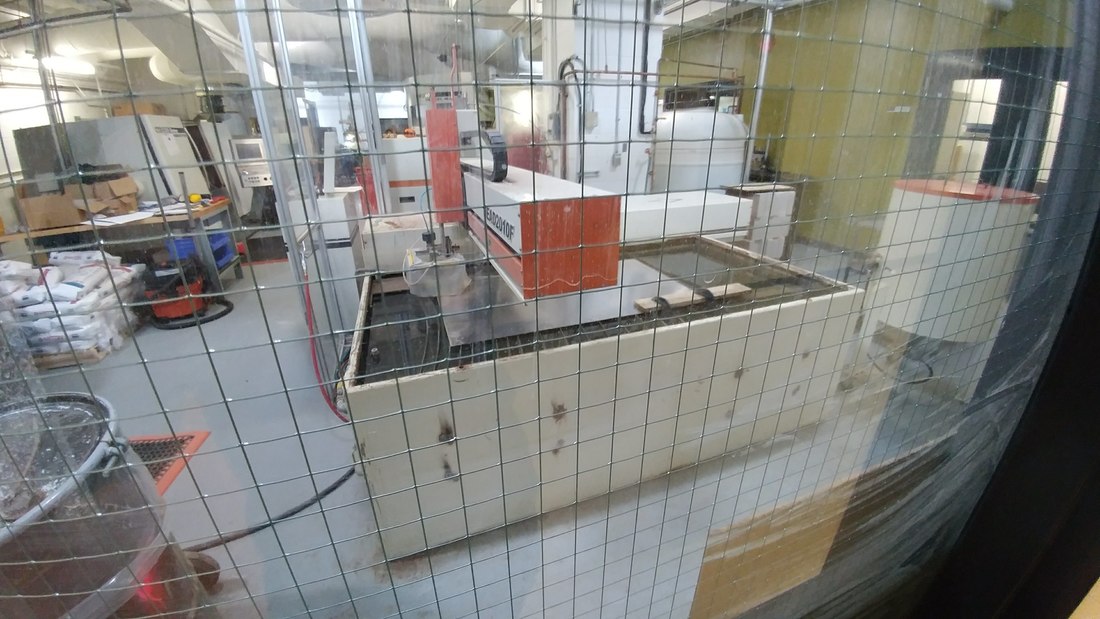 Today, Mike, Patrick and Antoine spent the day in the EDML to finish manufacturing all the parts and the panels. It took more than 6 hours to cut 16 aluminum and ABS panels! The shear's backstop wasn't square so it created a bit of issues. Plus, we were interrupted by SpaceX's Falcon Heavy rocket launch... but that's a detail. Below is a picture of the foundry's frame with the panels inserted. Only the doors are missing. 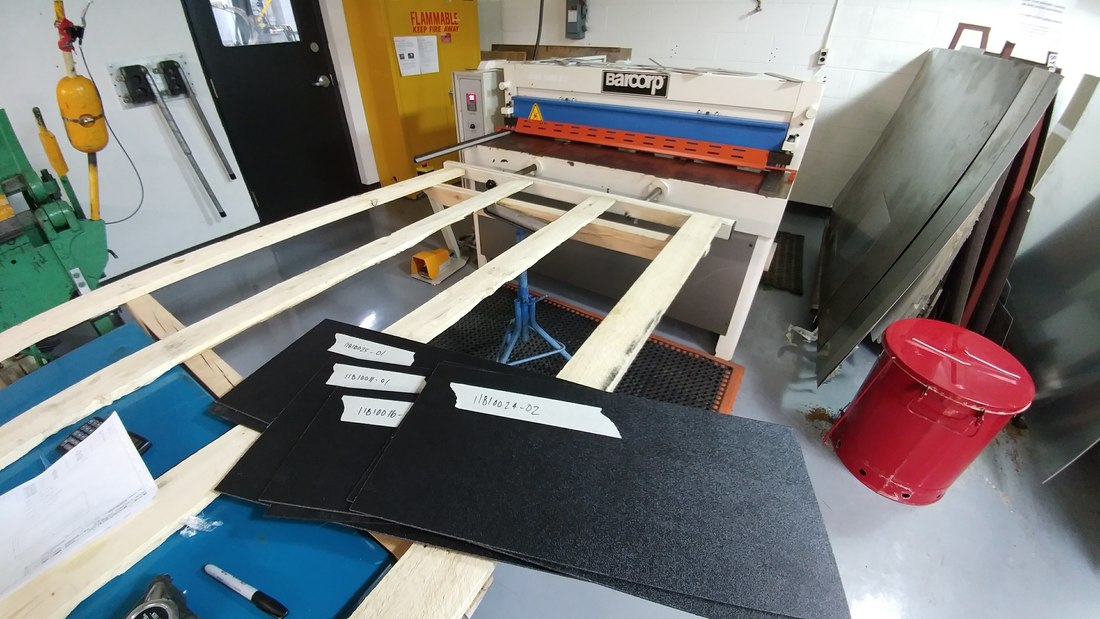 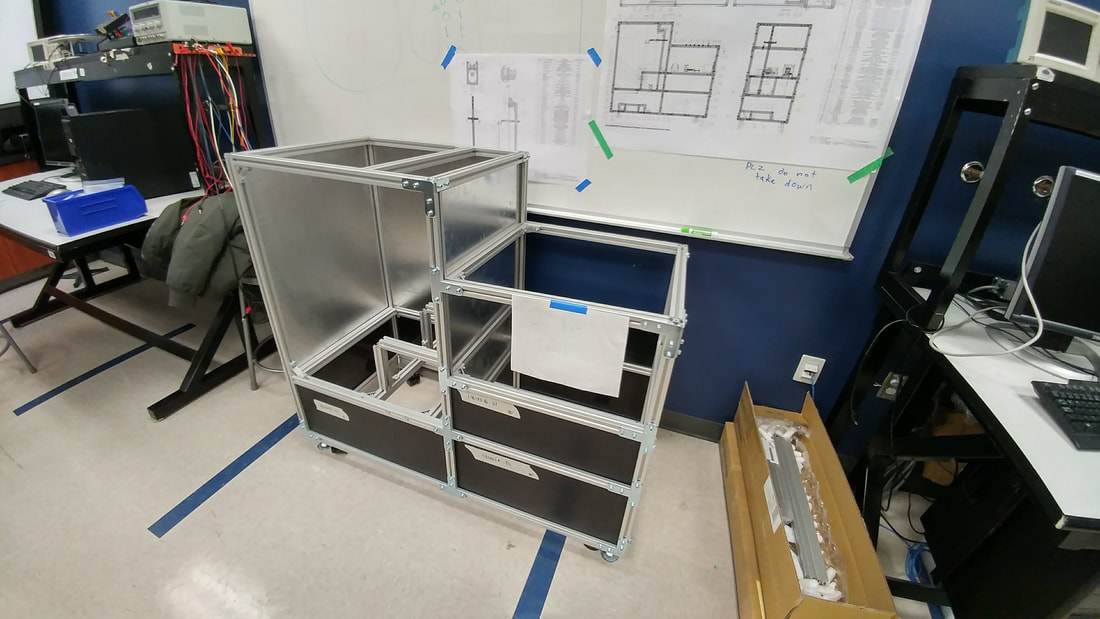 Today, we received our order of sheet metal and ABS. We'll be able to start cutting the panels on the shear. 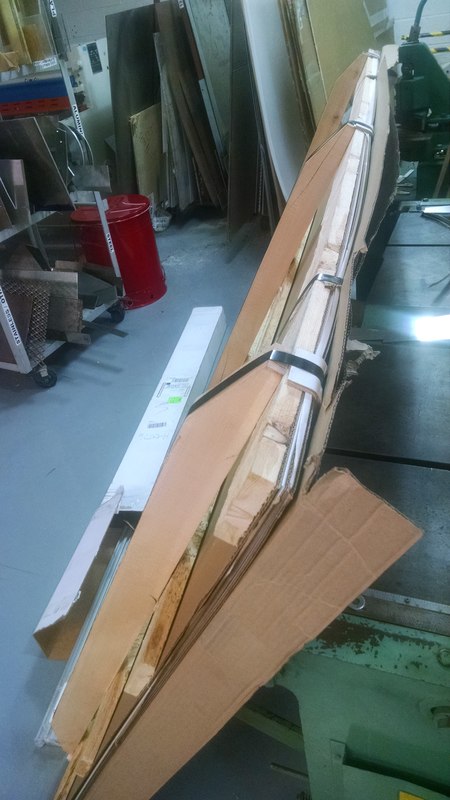 Lots of progress today. Patrick and Mike worked all day in the Engineering Design and Manufacturing Laboratory (EDML) to machine custom parts for the foundry. The rest of the team finished assembling the frame. It feels great to see the foundry take shape! Tomorrow, we're planning to cut the aluminum panels and finish manufacturing the custom parts.  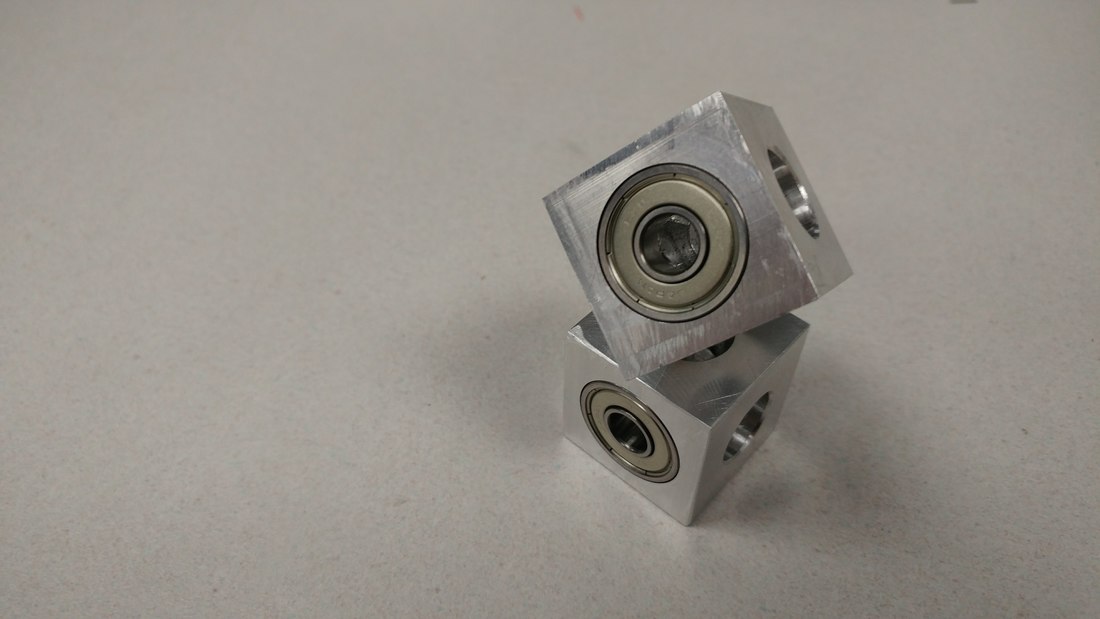 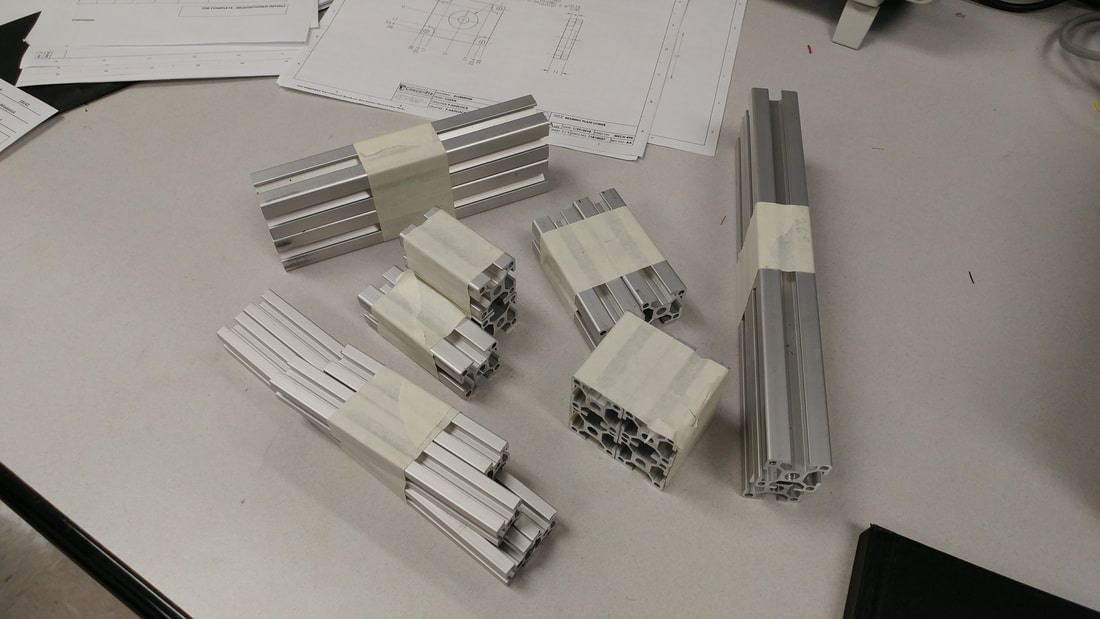 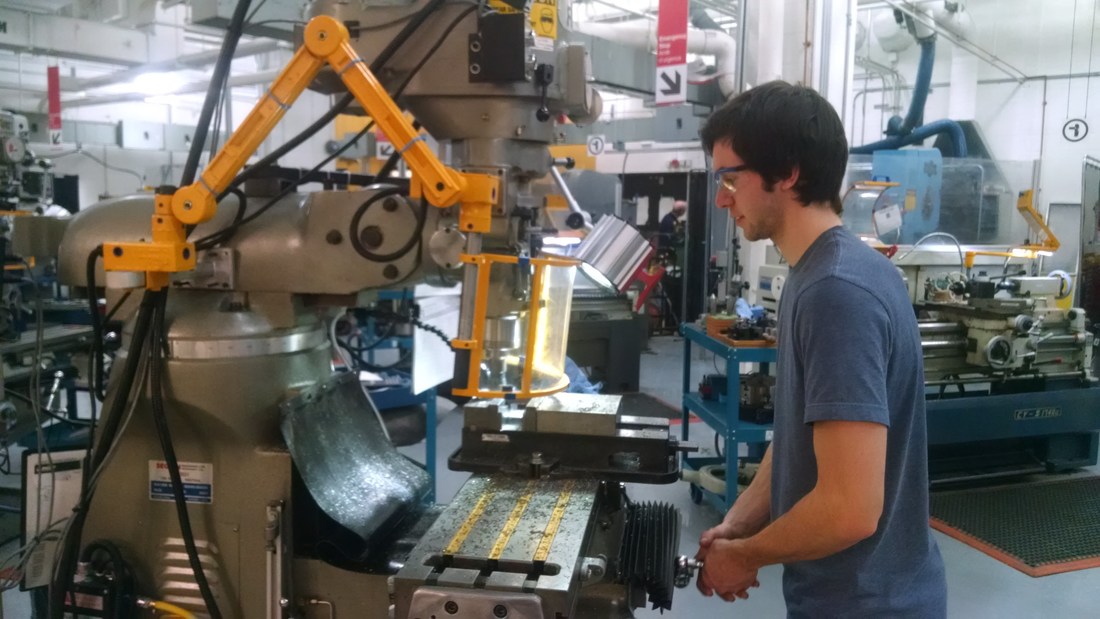 |
Categories |
 RSS Feed
